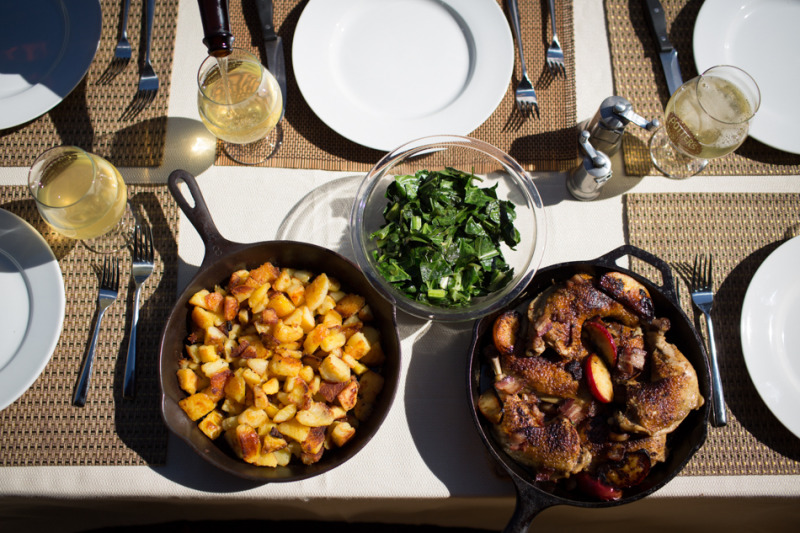
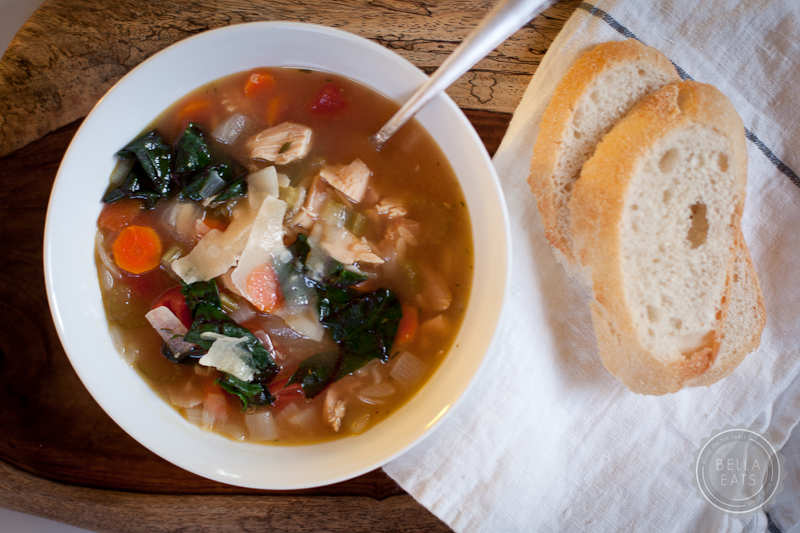
simplest roast chicken
Andrea
Well...this is awkward.
I prepared this post so long ago that it was actually photographed in the kitchen of the house we sold last May. Not to mention that, actually, the draft date was January of 2013. Two years ago. Before we even knew that we were having a baby. A baby who is now a 15-month old toddler.
Sorry, friends. Better late than never?
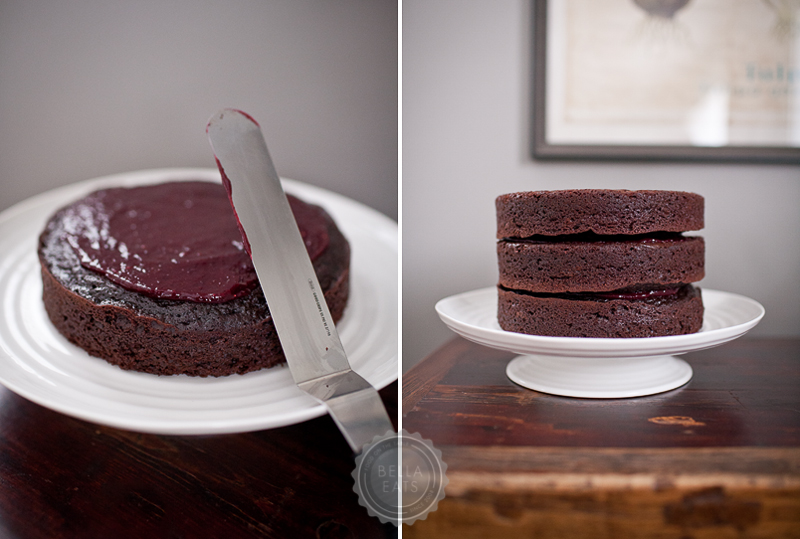
My tardiness does help to prove the point of this post, though; that roast chicken is a staple in our house, and this recipe in particular is our favorite. Because, two years later, these images are as relevant as the day I prepared them. Except for that kitchen.
Happy, healthy 2015 to any readers that may still have Bella Eats hooked into their feed reader. All two of you. Hi Brian, hi Momma.


Simplest Roast Chicken
from Thomas Keller, via Epicurious
Ingredients
- one whole, farm-raised chicken, 3-ish pounds
- kosher salt and freshly-ground pepper
- 2-3 teaspoons minced fresh thyme
- unsalted butter
- dijon mustard
Method (in Thomas Keller's words)
- Preheat the oven to 450°F. Rinse the chicken, then dry it very well with paper towels, inside and out. The less it steams, the drier the heat, the better.
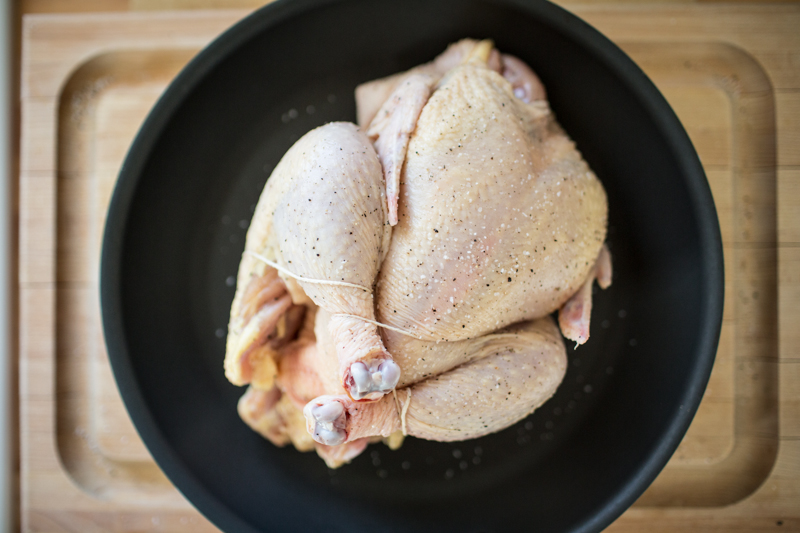
- Salt and pepper the cavity, then truss the bird. Trussing is not difficult, and if you roast chicken often, it's a good technique to feel comfortable with. When you truss a bird, the wings and legs stay close to the body; the ends of the drumsticks cover the top of the breast and keep it from drying out. Trussing helps the chicken to cook evenly, and it also makes for a more beautiful roasted bird.
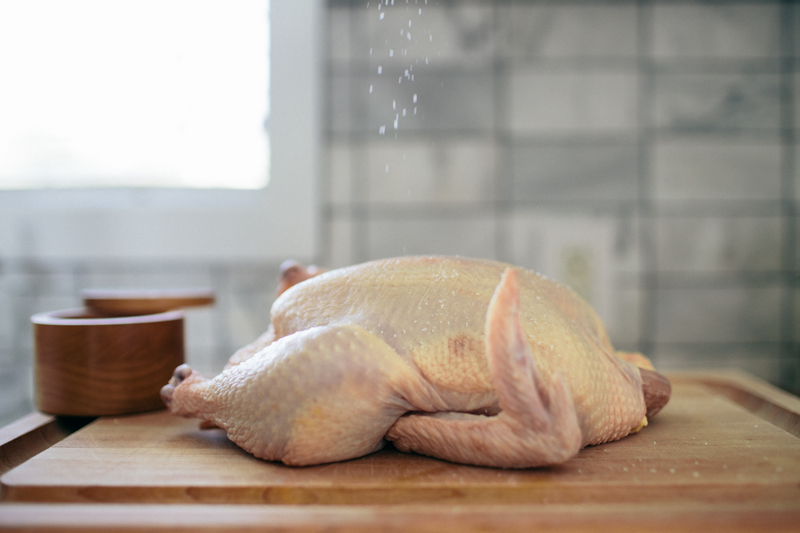
- Now, salt the chicken—I like to rain the salt over the bird so that it has a nice uniform coating that will result in a crisp, salty, flavorful skin (about 1 tablespoon). When it's cooked, you should still be able to make out the salt baked onto the crisp skin. Season to taste with pepper.
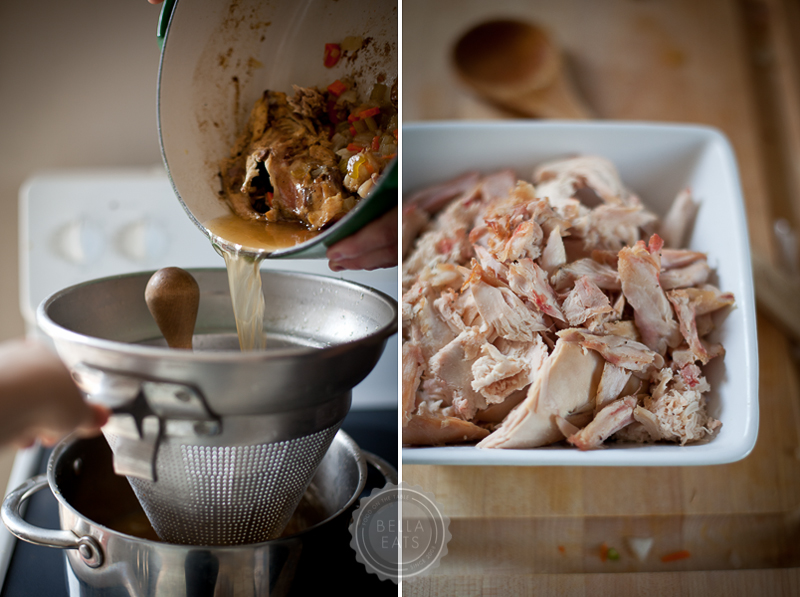
- Place the chicken in a sauté pan or roasting pan and, when the oven is up to temperature, put the chicken in the oven. I leave it alone—I don't baste it, I don't add butter; you can if you wish, but I feel this creates steam, which I don't want. Roast it until it's done, 50 to 60 minutes. Remove it from the oven and add the thyme, if using, to the pan. Baste the chicken with the juices and thyme and let it rest for 15 minutes on a cutting board.
- Remove the twine. Separate the middle wing joint and eat that immediately. Remove the legs and thighs. I like to take off the backbone and eat one of the oysters, the two succulent morsels of meat embedded here, and give the other to the person I'm cooking with. But I take the chicken butt for myself. I could never understand why my brothers always fought over that triangular tip—until one day I got the crispy, juicy fat myself. These are the cook's rewards. Cut the breast down the middle and serve it on the bone, with one wing joint still attached to each. The preparation is not meant to be superelegant. Slather the meat with fresh butter. Serve with mustard on the side and, if you wish, a simple green salad. You'll start using a knife and fork, but finish with your fingers, because it's so good.