lemon olive oil cake with apricots and rosemary
Andrea

Brian and I have spent a total of maybe thirty nights apart since we were married six and a half years ago. We’ve racked up seventeen of those nights in the last seven months, since the beginning of 2012, and have another ten on the calendar for August and September. We’re each traveling for work more than ever before, being pulled to New York, Connecticut, Chicago, Florida, Philadelphia, New Orleans, and New Hampshire this year alone.
An essential part of travel, for each of us, is the exploration of local food. Before we embark on a journey we ask friends, Facebook, and Twitter for restaurant recommendations. I look through the archives of Bon Appetit, Saveur, Gourmet, and The New York Times to see what I can find about the culinary scene. While visiting, Instagram is aflutter with food and drinks consumed. If we’re apart, iPhone photos are swapped between Brian and I; visual descriptions of whatever treats have been found both away and at home. We stay connected through the food we eat, never liking to spend a meal separately.
The best part, though, is the gifts given upon return. That little piece of an experience apart that lets the other know they weren’t really that far away at all. From New Orleans there was duck jerky from Butcher and, that one time, two pounds of sliced ham from Mother’s. From Florida, a special spice rub from 4Rivers BBQ. The exchange goes the other way, too, with the homemade pot roast awaiting my return from New York in February, or the whisper of a ‘fruit surprise’ in the kitchen just two weeks ago.
I’d returned early-ish on Sunday morning. Having photographed a wedding in northern Virginia with Sarah the night before, we’d each been anxious to get home to our husbands. An early departure with a quick stop at Starbucks had us back in Charlottesville by 10am, just in time for me to crawl in bed for the last 30 minutes of weekend snuggling with Brian and the pups. As we recapped our two nights apart, Brian rattled off the list of goodies he’d picked up at the farmers’ market the morning before. Excited to see my surprise, I padded out to the kitchen to investigate. And there sat the prettiest, rosiest apricots in my very favorite bowl.
Just the thought of Brian coming across those apricots at the market makes me smile, because I know that he would never have picked them up just for himself. No, he saw the pretty fruits and thought ‘Andrea would like to bake something with these.’ and whisked them away to our house where, two days later, they were the stars of this cake.
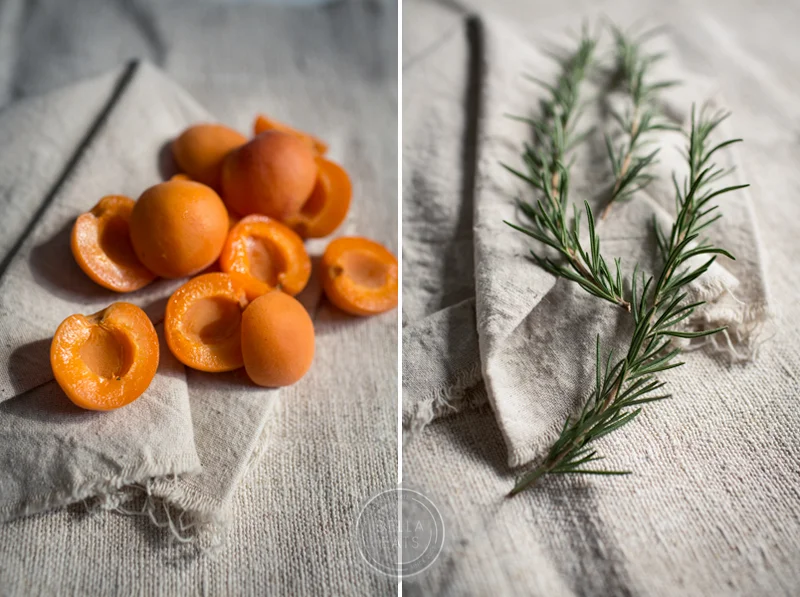

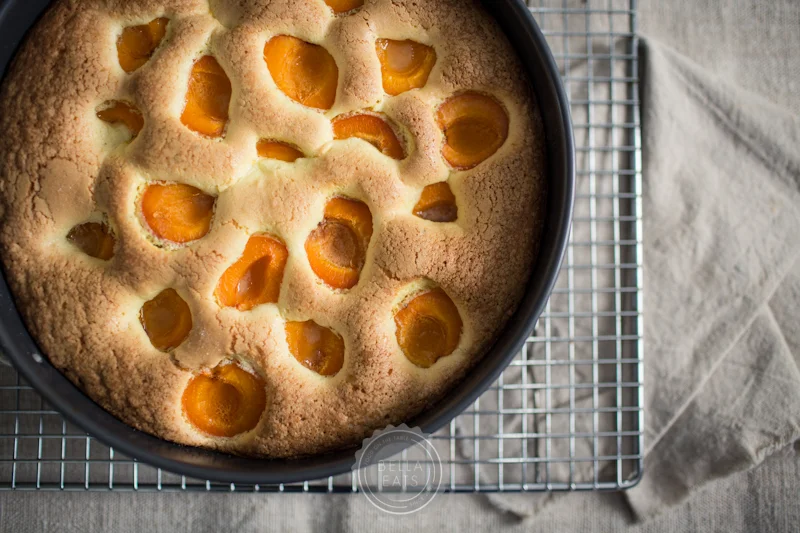
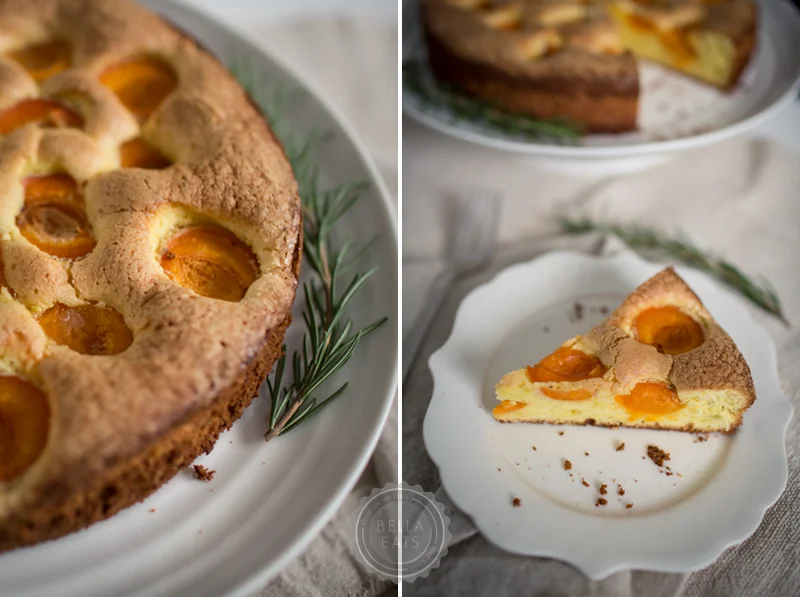
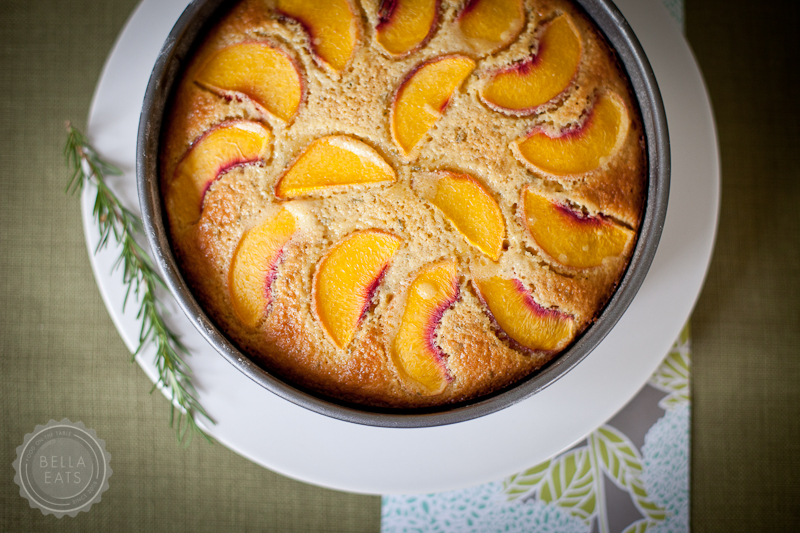
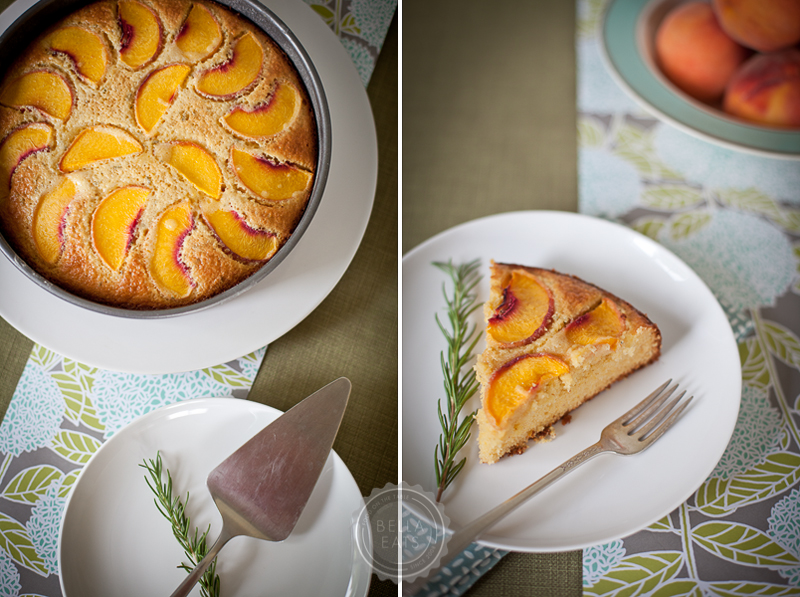
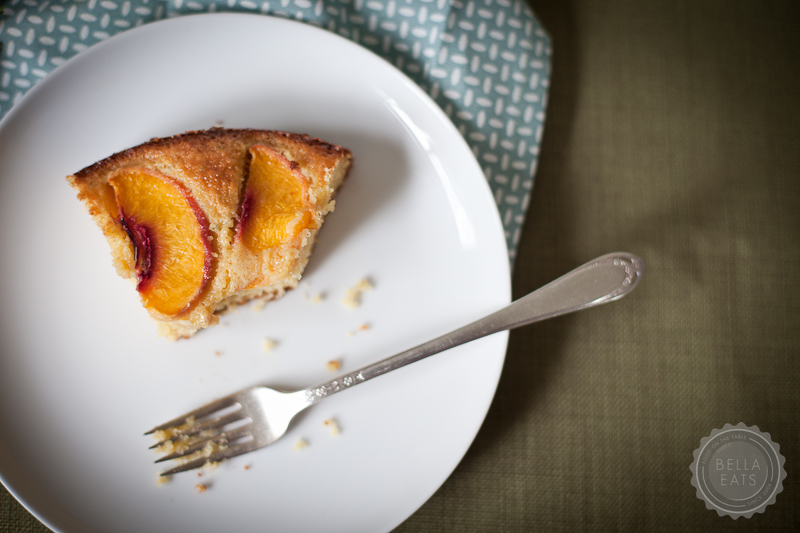
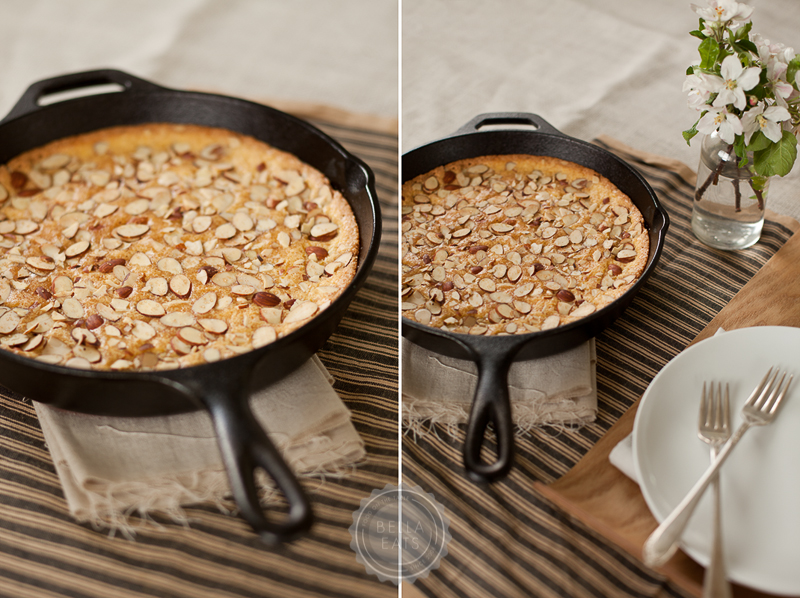
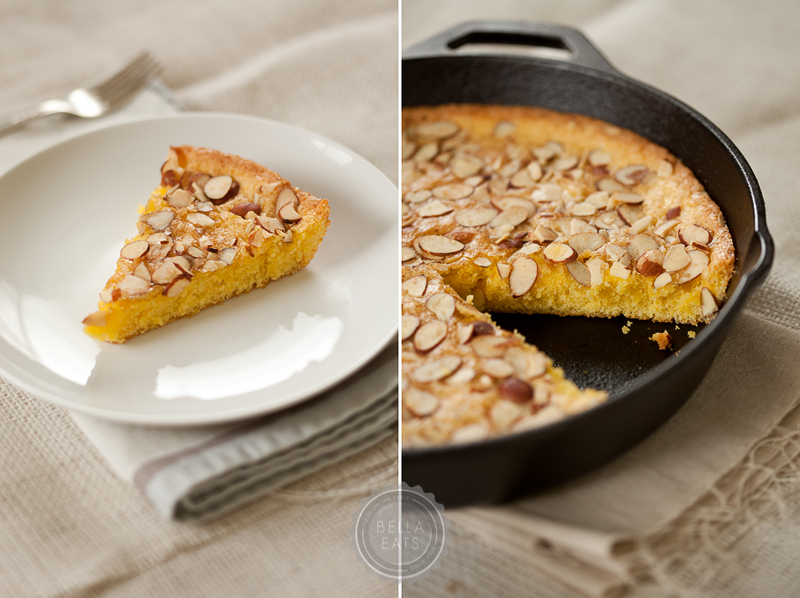
We adored this cake. Not too sweet (Brian's favorite kind) but bursting with the flavor of fresh apricots. The base has an almost poundcake-like consistency...dense and a bit spongey. The earthiness of the rosemary was the perfect compliment to the brightness of the fruit. Be sure to pick good apricots; they'll make all the difference.
Lemon Olive Oil Cake with Apricots and Rosemary
serves 8
adapted from Gourmet, April 2006
Ingredients
- 3/4 cup olive oil (extra-virgin if desired), plus additional for greasing pan
- 1 large lemon
- 1 tsp minced fresh rosemary
- 1 cup cake flour (not self-rising)
- 5 large eggs, separated, reserving 1 white for another use
- 3/4 cup plus 1 1/2 tablespoons sugar
- 10 fresh apricots, halved and pitted
Method
- Put oven rack in middle position and preheat oven to 350°F. Grease a 9-inch springform pan with some oil, then line the bottom with a round of parchment paper. Oil the parchment.
- Finely grate enough lemon zest to measure 1-1/2 teaspoons and whisk together with flour. Add the chopped rosemary and whisk. Halve lemon, then squeeze and reserve 1 1/2 tablespoons fresh lemon juice.
- Beat together yolks and 1/2 cup sugar in a large bowl with an electric mixer at high speed until thick and pale, about 3 minutes. Reduce speed to medium and add olive oil (3/4 cup) and reserved lemon juice, beating until just combined (mixture may appear separated). Using a wooden spoon, stir in flour mixture (do not beat) until just combined.
- Beat egg whites (from 4 eggs) with 1/2 teaspoon salt in another large bowl with cleaned beaters at medium-high speed until foamy, then add 1/4 cup sugar a little at a time, beating, and continue to beat until egg whites just hold soft peaks, about 3 minutes.
- Gently fold one third of whites into yolk mixture to lighten, then fold in remaining whites gently but thoroughly.
- Transfer batter to springform pan and gently rap against work surface once or twice to release any air bubbles. Place apricot halves in a decorative pattern across the top of the cake, cut-side up. Sprinkle top evenly with remaining 1-1/2 tablespoons sugar. Bake until puffed and golden and a wooden pick or skewer inserted in center of cake comes out clean, about 45 minutes. Cool cake in pan on a rack 10 minutes, then run a thin knife around edge of pan and remove side of pan. Cool cake to room temperature, about 1-1/4 hours. Remove bottom of pan and peel off parchment, then transfer cake to a serving plate.


 I’m fairly new to the world of writing, having only started forcing myself to practice regularly when I started this blog and discovered how much I enjoy it. I’ve learned in the six months since defining the
  This evening, as I was in the middle of my uninspired third draft, my Momma called for a chat. She had some bad news about an elderly relative, my grandfather’s sister. My Great Aunt isn’t doing very well, in fact hasn’t been for awhile, and Momma wanted to update me on her status. Our conversation eventually turned to more trivial subjects to lighten our mood, and my unsatisfying third draft came up. As I explained my writer’s block my Momma chuckled, and proceeded to share with me a few of her own childhood memories of plums, of which she has many.
 She told me about “plumjum”, my grandfather’s favorite spread for toast, and how his sister (yes, the very same as mentioned above) used to make him jars of it with plums from another sister’s trees. She laughed about how surprised she was when, at an older age, she learned that the coveted spread was in fact a simple plum jam. Those family trees that produced the fruit that formed the jam were a favorite playground for my Momma and her cousins, a treetop haven where they ate as many plums as they could stomach while spitting the pits at each other (she was a bit of a tomboy, my mother, having grown up with all male cousins). As we laughed about her memories, events she probably hasn’t thought about in years, I was reminded again of how powerful food is, and thankful that even though she hasn’t read it yet, this post evoked happy thoughts of her past during a time of sadness.
 As far as my future with plums goes - and based on my family history with the fruit - I feel pretty confident when I say that we've got many happy moments ahead of us. And you can bet (a plum cake, perhaps?) that a few jars of "plumjum" will be produced this weekend from the best possible specimens, packed up and shipped to Florida for my Momma and grandfather to enjoy. With love.
 In the last few weeks, I’ve seen plums pop up in
  If you'd like this cake for breakfast, make it the night before and wrap it tightly in plastic, letting it sit on your counter until the morning. Then, about 15 minutes before you're ready to eat it remove the plastic, pop it in the oven to re-heat for a few minutes before turning on the broiler to crisp the top and caramelize the edges.
Plum Cake
adapted from
If you'd like this cake for breakfast, make it the night before and wrap it tightly in plastic, letting it sit on your counter until the morning. Then, about 15 minutes before you're ready to eat it remove the plastic, pop it in the oven to re-heat for a few minutes before turning on the broiler to crisp the top and caramelize the edges.
Plum Cake
adapted from  I followed the original recipe closely except for the following adaptations:
Because about 1/2 of my plums were still a little green on the inside and therefore quite tart, I chose to macerate the fruit for a bit before layering it with the dough. Even if I use very sweet fruit in the future, I won't skip this step. The sugar helped the fruit to caramelize at the edges, producing a wonderful texture.
The addition of lemon zest to the dough and slivered almonds to the top of the cake are two tricks that I use quite often in fruit cakes and crumbles. I think that everything is better with a touch of lemon and a few almonds.
I followed the original recipe closely except for the following adaptations:
Because about 1/2 of my plums were still a little green on the inside and therefore quite tart, I chose to macerate the fruit for a bit before layering it with the dough. Even if I use very sweet fruit in the future, I won't skip this step. The sugar helped the fruit to caramelize at the edges, producing a wonderful texture.
The addition of lemon zest to the dough and slivered almonds to the top of the cake are two tricks that I use quite often in fruit cakes and crumbles. I think that everything is better with a touch of lemon and a few almonds.

 Many thanks to the lovely
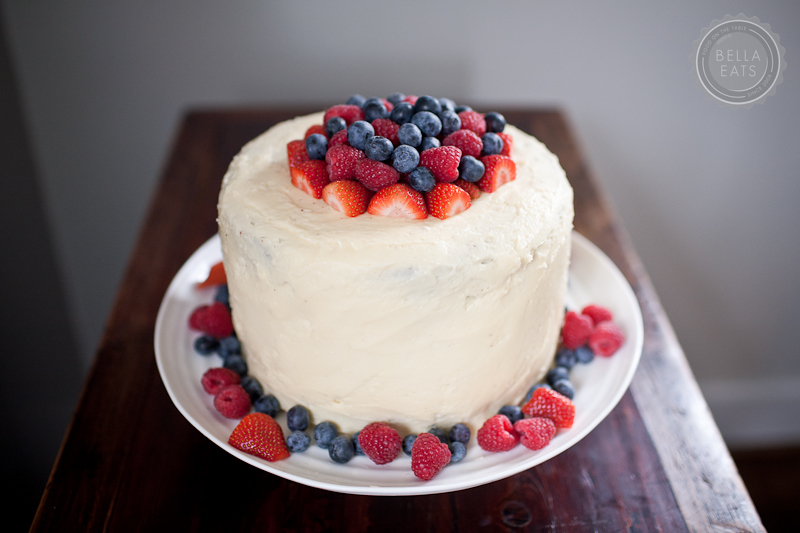
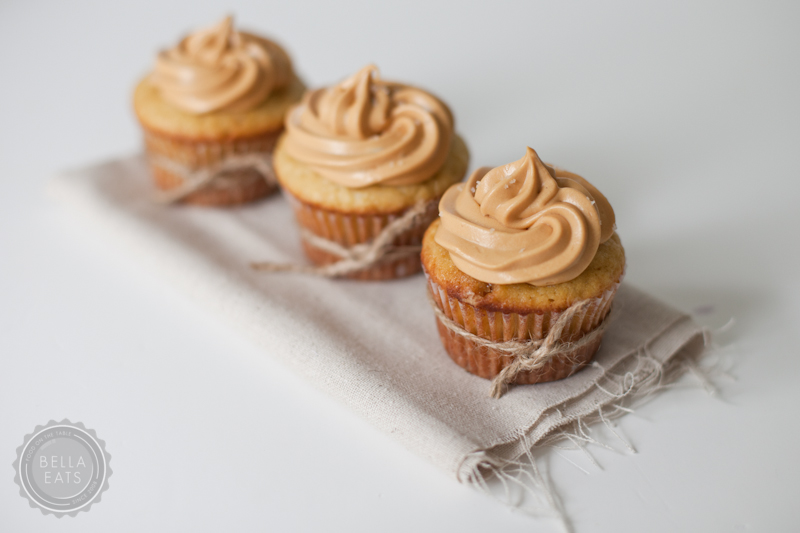
  The cupcakes were delicious - rich and moist with a delicate crumb and perfectly domed tops. The tang of fresh raspberry puree' whipped into sweet buttercream frosting complimented them wonderfully. The combination was so good, in fact, that they caused a dear friend of ours to eat the two cupcakes sent home with her that were meant for her 3-year old daughter. Shhhh...I won't tell, no worries. I can't say that I wouldn't do the same thing.
For those of you celebrating, have a Happy 4th!
The cupcakes were delicious - rich and moist with a delicate crumb and perfectly domed tops. The tang of fresh raspberry puree' whipped into sweet buttercream frosting complimented them wonderfully. The combination was so good, in fact, that they caused a dear friend of ours to eat the two cupcakes sent home with her that were meant for her 3-year old daughter. Shhhh...I won't tell, no worries. I can't say that I wouldn't do the same thing.
For those of you celebrating, have a Happy 4th!
 Chocolate Cupcakes
original recipe from
Chocolate Cupcakes
original recipe from 


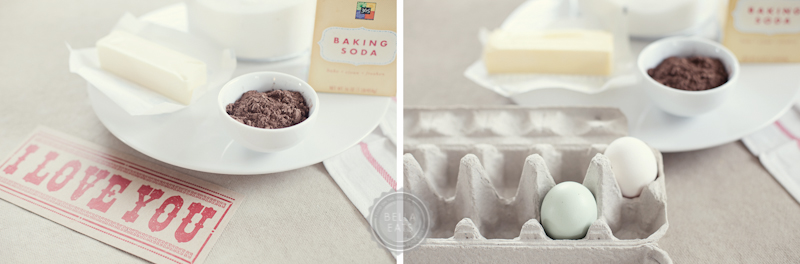
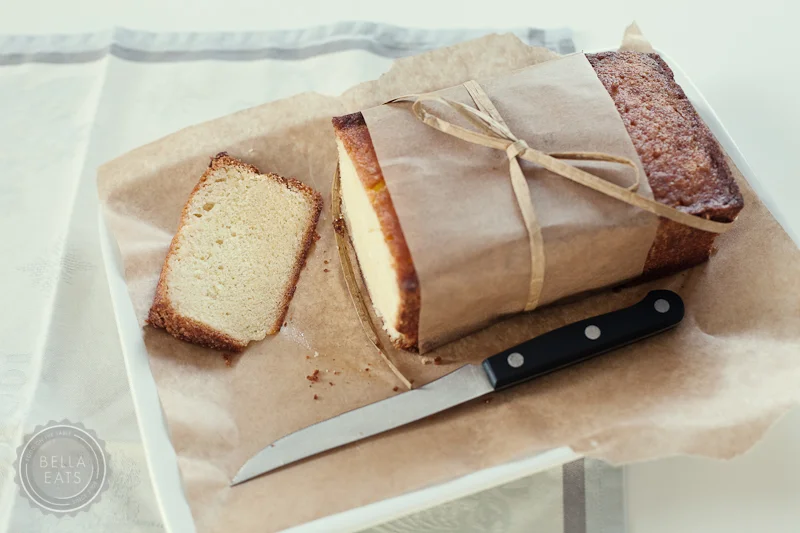
 This recipe makes 2 cakes. After reading some comments from Joy's readers I would not recommend trying to bake this cake in any pan other than loaf pans. Also, I used ALL of the syrup. I just kept brushing layer upon layer of syrup over the tops of the cakes, allowing each application to soak in before adding another. And, when there was just a bit left in the bowl, I poured it onto the serving plate and plopped the cakes right on top of it, allowing the bottoms to soak it up and get nice and lemon-y. If you're not a lemon fanatic like me, you might want to only use 1/2 the syrup.
Lemon Drenched Lemon Cakes
Recipe adapted from Dorie Greenspan via
This recipe makes 2 cakes. After reading some comments from Joy's readers I would not recommend trying to bake this cake in any pan other than loaf pans. Also, I used ALL of the syrup. I just kept brushing layer upon layer of syrup over the tops of the cakes, allowing each application to soak in before adding another. And, when there was just a bit left in the bowl, I poured it onto the serving plate and plopped the cakes right on top of it, allowing the bottoms to soak it up and get nice and lemon-y. If you're not a lemon fanatic like me, you might want to only use 1/2 the syrup.
Lemon Drenched Lemon Cakes
Recipe adapted from Dorie Greenspan via  The recipe recommends that you make this cake the day before you plan to consume it. If you do, be sure to wrap it very well to keep it fresh overnight, or keep it in a cake dome. My gentle tenting over a dinner plate didn't work so well. And don't spoon the glaze over it until you are ready to serve.
Lemon Bundt Cake with Strawberry Sauce
recipe adapted from
The recipe recommends that you make this cake the day before you plan to consume it. If you do, be sure to wrap it very well to keep it fresh overnight, or keep it in a cake dome. My gentle tenting over a dinner plate didn't work so well. And don't spoon the glaze over it until you are ready to serve.
Lemon Bundt Cake with Strawberry Sauce
recipe adapted from  Apparently the field had been picked clean by a gaggle of girl scouts the weekend before and hadn't quite recovered yet. Now I have nothing against girl scouts, but when they clean out the strawberry field I am left with a few bitter thoughts in my head. If you've been
  On Sunday we continued our celebration of spring weekend by grilling out with friends. Brian has been working to perfect ribs on our Big Green Egg grill for a year now, with a long hiatus in the middle for those cold winter months. We thought that this weekend was going to be it, the moment when the ribs would come off the grill after spending hours smoking over low heat, perfectly moist and fall-off-the-bone tender.
 I anticipated telling you all about them and had their post written in my head. It was going to be so perfectly coincidental that our first attempt at ribs on the Big Green Egg had been exactly one year prior, on the weekend of my graduation from UVA's M.Arch program, and that exactly 12 months of debates and research and a dozen racks of ribs later I would be sharing with you the perfect rib recipe. Sadly, it isn't so.
 While their flavor was delicious, as it always is, the tenderness of the ribs just wasn't where Brian wants it to be. We'll get there, I promise, and you all will be the first to know - after we call all of the friends whom we've been experimenting on to gleefully tell them that we have finally mastered ribs on the Big Green Egg and to please, please, stop by for another taste-test.
Until then, a recipe for ginger bundt cake with ginger-infused strawberries will have to do.
While their flavor was delicious, as it always is, the tenderness of the ribs just wasn't where Brian wants it to be. We'll get there, I promise, and you all will be the first to know - after we call all of the friends whom we've been experimenting on to gleefully tell them that we have finally mastered ribs on the Big Green Egg and to please, please, stop by for another taste-test.
Until then, a recipe for ginger bundt cake with ginger-infused strawberries will have to do.
 And it will do, I promise, because here's the thing about this cake - it. is. delicious. I knew it would be a success as I was blending the farm-fresh eggs into the batter and it was turning the beautiful golden color you see above. The texture was just what cake batter should be, and the color given to it by those vibrant orange egg yolks (which you just can't get from grocery store eggs) was so beautiful that I did a little dance after each addition. The ginger-infused syrup for the strawberries is so perfect that I can't help but think of cocktail recipes that will utilize it all summer long.
 This cake fits right in at the backyard barbeque, nestled in between ribs on the grill and the last few games of
  The recipe for Double-Ginger Sour Cream Bundt Cake with Ginger-Infused Strawberries can be found