a persuasive cake
Andrea
Here we are at the end of March. Spring has claimed her space and unpacked her bags, kicked off her shoes and accepted a glass of lemony iced tea. She's fully settled in and ready to chat for awhile, her pony-tail bobbing enthusiastically as she shows you what's in store for the next few months.
There are predictions of 83* sunny days in Charlottesville this weekend...83*! That is shorts weather, my friends, and tank tops and strappy sandals and [eek!] swim suits weather. It was all very exciting until I pulled out a pair of those shorts last night and realized that this month coming to an end, the month full of birthdays and cake and cocktails, has done a number on certain, *ahem*, areas. Those well-intentioned New Year’s resolutions set in January were shaken with the arrival of Brian’s birthday 29 days ago, and continued to slowly slip away as we celebrated our way through March.
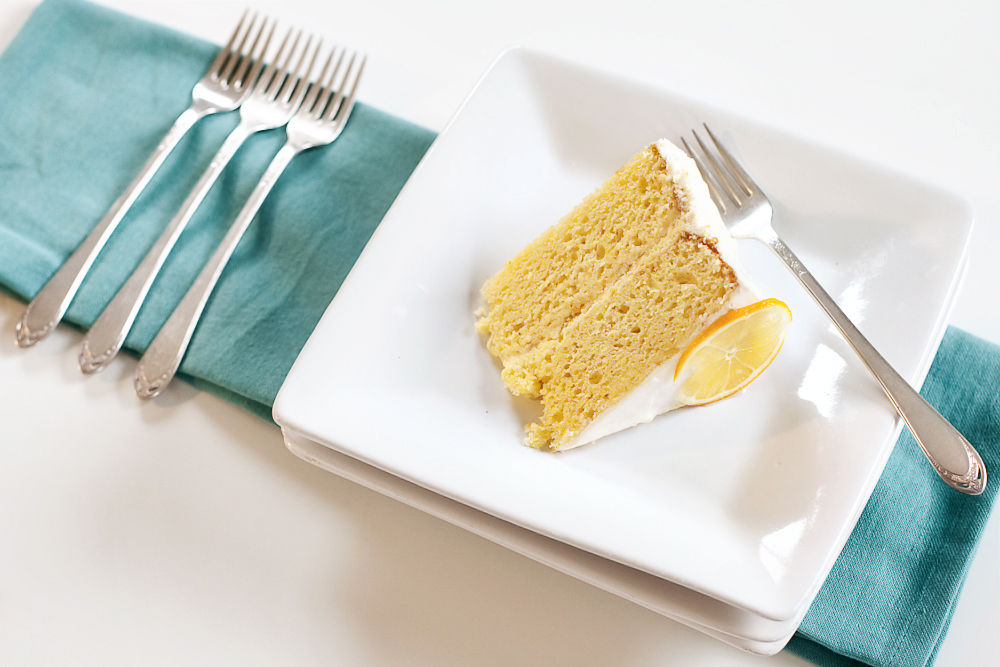
This last weekend was the culmination of all of that good cheer. With my Daddy in town for four days spoiling us rotten, there were indulgent meals shared at favorite restaurants and bottles of wine Brian and I could never justify buying ourselves. As a “thank you!” for all of that generosity we had a little barbeque Saturday afternoon, complete with Double H Farm baby back ribs smoked on the Big Green Egg, the best baked beans I’ve ever had, salad with a hearty base of [local!] emerald green spinach and a delightfully moist lemon mousse cake. Although the air was a crisp 50*, we had a cloudless Caribbean-blue sky and a brilliantly radiant sun to warm our skin and confirm the departure of [old man] Winter.
And now today, with all of those birthdays behind us and the very last of that lemon mousse cake tossed away in the trash (but not before a bite or two passed my lips to verify its staleness) it is time to think of April, the second to last month before the water flowing steadily through our surrounding rivers warms to a point that justifies the loading up of kayaks and the donning of swim suits. It’s time to welcome the farmers back to downtown Charlottesville, to our Saturday morning City Market that starts this weekend(!), and to embrace the first gifts of Spring. It’s time to lighten up and brighten up, to take a break from all the sugary-sweet goodness of March and indulge in the green that comes with April.
But first, I want to give you more cake.
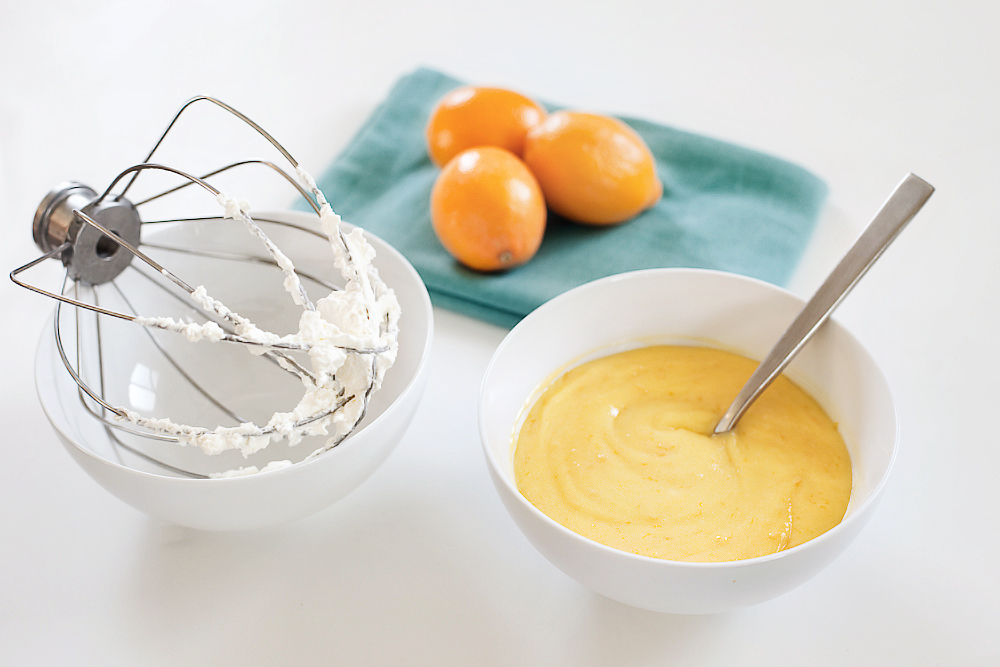
With a buoyant crumb that bounces back at the poke of a finger and an airy, lemon-tinted mousse so cool and refreshing you'll have to fight yourself not to finish the entire bowl in one sitting, this cake seems to be the perfect welcome for Spring. It's a persuasive cake, the kind that you want to always have under a dome on your counter, ready to share with important guests while sitting on the front porch drinking a tall glass of iced tea. It seems that, when being offered a cake like this one, it would be impossible for those guests to leave.
That's my hope anyway, as I embrace Spring and ask her to stick around for awhile.
This is a very long recipe, but is actually very simple. Especially if you divide the tasks between two days - the cake and lemon curd on the first, the mousse, frosting and assembly on the second.
Lemon Mousse Cake
from the greyston bakery cookbook, pg. 46
serves 8 to 10
Ingredients
for the cake
- 5 eggs, separated
- 1/4 cup (1/2 stick) unsalted butter, melted and cooled
- 1/2 cup milk
- 1-1/2 tsp vanilla extract
- 1-1/2 cups unbleached all-purpose flour
- 1-1/4 cups sugar
- 2-1/2 tsp baking powder
- 1/4 tsp salt
- 1/2 fresh lemon, seeds discarded
for the lemon curd
- 2 large eggs
- 1 egg yolk
- 1/2 cup granulated sugar
- 1/3 cup fresh lemon juice (from about 2 medium lemons)
- 1/8 tsp salt
- 1/4 cup (1/2 stick) unsalted butter, cut into small pieces
- 1 tsp finely grated lemon zest
- 1 cup heavy cream
- 3/4 cup lemon curd
- 6 tbsp (3/4 stick) unsalted butter, room temperature
- 2 cups confectioners' sugar, sifted
- 3 tbsp heavy cream
- 1-1/4 tsp vanilla extract
- 1 tsp lemon extract
- Position a rack in the center of the oven and preheat oven to 350*. Grease and flour two 8" round cake pans and line the pan bottoms with parchment rounds.
- In a small bowl, combine the egg yolks, butter, milk and vanilla. Set aside.
- In a large bowl, whisk together the flour, 1 cup of sugar, baking powder and salt to blend. Add the egg yolk mixture and stir until well combined. Set aside.
- In a clean dry bowl, using clean dry beaters, beat the egg whites on medium-high speed until they hold soft peaks. Lower the mixer speed to medium and gradually add the remaining 1/4 cup sugar, beating the whites until they hold stiff peaks. Stir about one-third of the egg whites into the batter to lighten. Gently fold the remaining whites into the batter, in two batches, to blend thoroughly.
- Transfer the batter to the prepared pans, filling them equally. Bake for 30 to 35 minutes, or until the sides of the cakes begin to pull away slightly from the pans and a wooden skewer inserted near the center of the cake comes out clean.
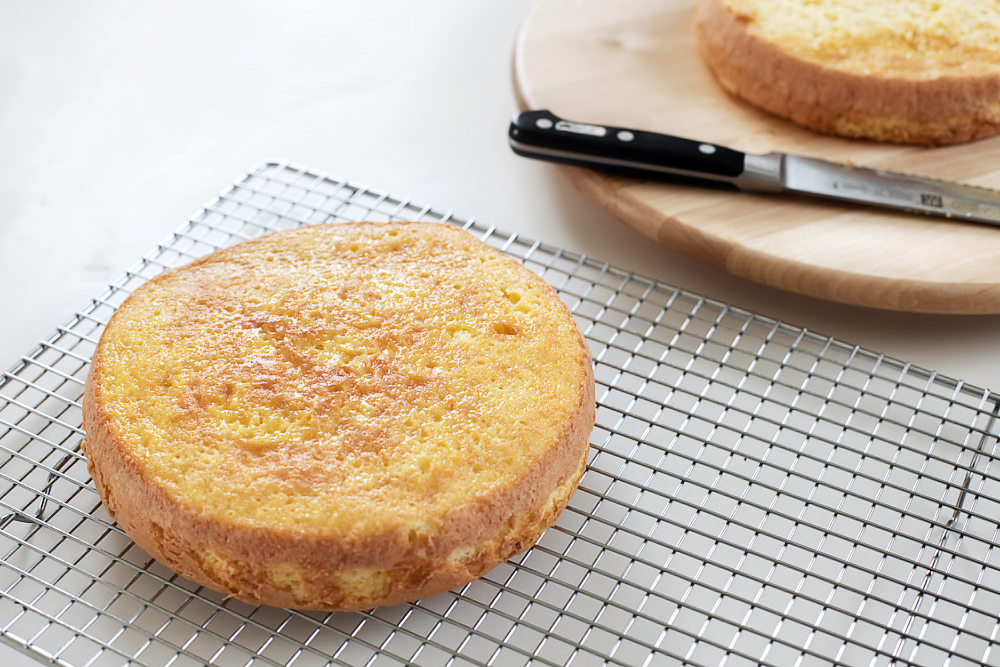
- Set the pans on a wire rack for 10 minutes to cool. Turn the cakes out onto the rack and carefully remove the parchment. Reinvert the cakes and allow them to cool completely on wire racks.
- If making the cakes the night before (as I did), wrap them tightly with plastic wrap once entirely cool and keep at room temperature.
- In a small saucepan set over medium-low heat, whisk the eggs and egg yolk with the sugar, lemon juice and salt. Continue to cook, whisking constantly, for 10 minutes or until thickened.
- Remove the curd from the heat and add the butter, stirring until melted. Strain the mixture through a mesh sieve into a small bowl. Stir in the lemon zest.
- Cover with plastic wrap, pressing the plastic directly on the entire surface of the lemon curd to prevent a skin from forming. Chill the curd in the refrigerator until firm.
- In the bowl of an electric mixer set on medium-high speed, beat the cream until it holds soft peaks. Working in three batches, gently fold the cream into the lemon curd. Refrigerate for at least 1 hour before using.
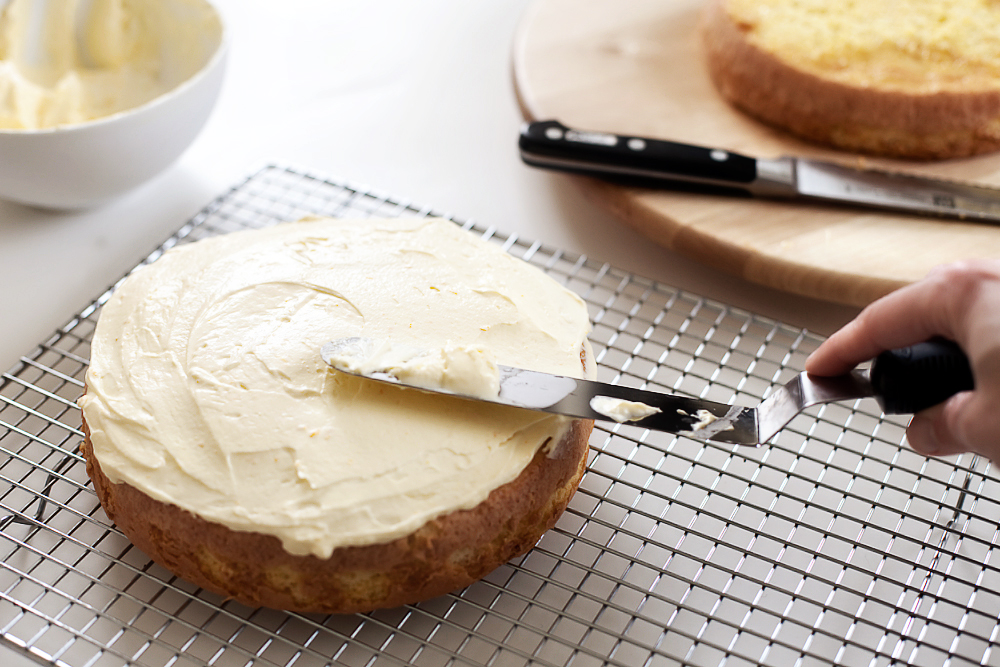
- In a clean bowl of an electric mixer, combine the butter, sugar, cream, vanilla and lemon extract. Mix on medium-low speed until well combined.
- With a long serrated knife, trim the rounded top off each cake layer to create a flat surface.
- Squeeze half of the juice from the lemon over the cut side of one layer of cake. Place that layer, cut side up, on a serving plate. Spread the lemon mousse evenly on top.
- Carefully place the next layer, cut side down, on top of the first layer. Squeeze the rest of the juice from the lemon on top. Frost the top and sides of the cake with the lemon buttercream frosting. Place the cake in the refrigerator for at least an hour to set. Keep refrigerated until ready to serve.


 About a year ago, my momma started talking to me about a chocolate mousse pie. Or, more specifically, a chocolate mousse pie whose mousse was so delectable that she and my stepfather decided to eliminate the crust, and therefore the element that made the dessert a “pie”, altogether. They’d served the mousse at a few dinner gatherings and even to my stepbrother (who is notoriously picky and known to complain about most dishes that come from our parents’ kitchen) with much success. “You’ve GOT to make it sweetie”, she’d say, “Its just soooooo yummy!”
 I put it off because, honestly, I’m not a big chocolate mousse fan. Give me a slice of
 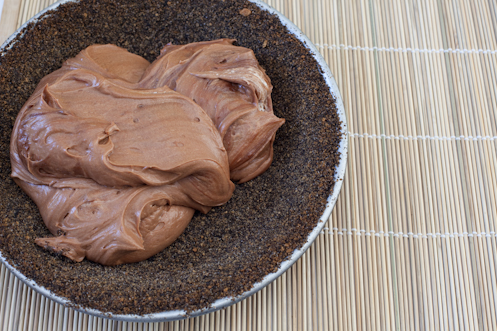 But my momma, she’s stubborn. She was determined that I would like THIS chocolate mousse and so added it to the dessert menu for our Christmas meal last year. I’m willing to try anything, but honestly, I was looking forward to the
 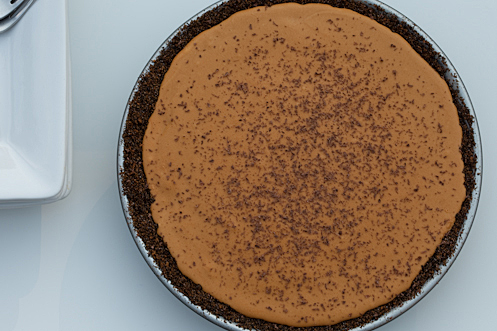 When the
  There's something you should know about me...I'm a tweaker. I like to experiment with recipes, especially baked goods, to make them my own. My momma sent me the chocolate mousse recipe, which my stepfather had modified slightly from
  Determined to prove him wrong, I set to work last Sunday morning on my Chocolate and Salted Caramel Mousse Pie (pictured in photos above). I tweaked the chocolate mousse (
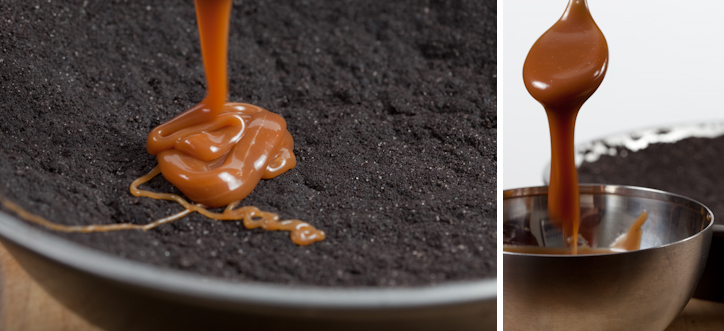 And so I moved on to plan B. I had this feeling that because both the chocolate and caramel layers were light and mousse-like, they oozed together in your mouth without maintaining their own identities and created a bite that was overwhelmingly rich. After some consultation with Brian and my Momma, I decided to try a pure caramel layer topped by the same chocolate mousse along with a new cookie crust, having not been completely thrilled with Emeril's mix of chocolate cookies and graham crackers in the first pie.
(Have I mentioned how easy it is to make homemade salted caramel? SO easy. TOO easy. There have been visions of caramel apples and caramel candies and caramel sauce for ice cream swimming in my head since I learned how easy it is. Yum.)
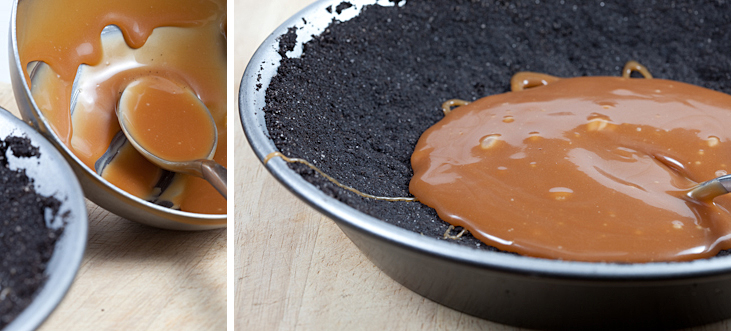 As it turns out, pure caramel doesn't adhere well to chocolate cookie crust. After placing a slice of pie #2 on a plate to serve, I watched as the mousse and caramel slowly slid down the length of the shell that was meant to keep the slice intact and maintain its shape. Even after an overnight rest in the freezer, it took a mere 5 minutes out before the caramel started oozing from beneath the chocolate mousse, lethargically making its protest at being forced to share the stage with another star.
 Apparently, my parents DO know a little something about desserts - the chocolate mousse is perfect on its own.
So, here is my recommendation after this week of experimentation. Make the chocolate mousse. Put it into a chocolate cookie crust and place the whole pie in the freezer for a few hours. Serve with a generous blob of homemade whipped cream. Pure. Simple. Delicious. And if you're dying to try the salted butter caramel, DO! Just coat an apple with it or drizzle it over ice cream. It deserves its own spotlight.
Or better yet, follow Helen's instructions for her
 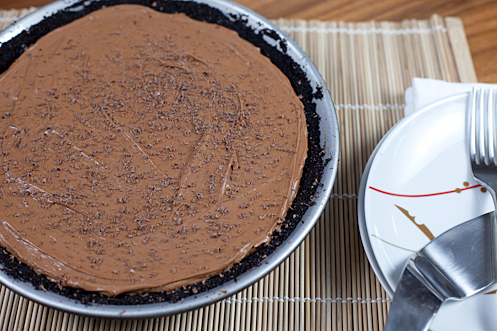 Chocolate Mousse Pie
adapted from
  Up next Thursday on Bella Eats Pie: Apple!
And, I'm going to try really hard to get some savory fall dinner posts up in between...