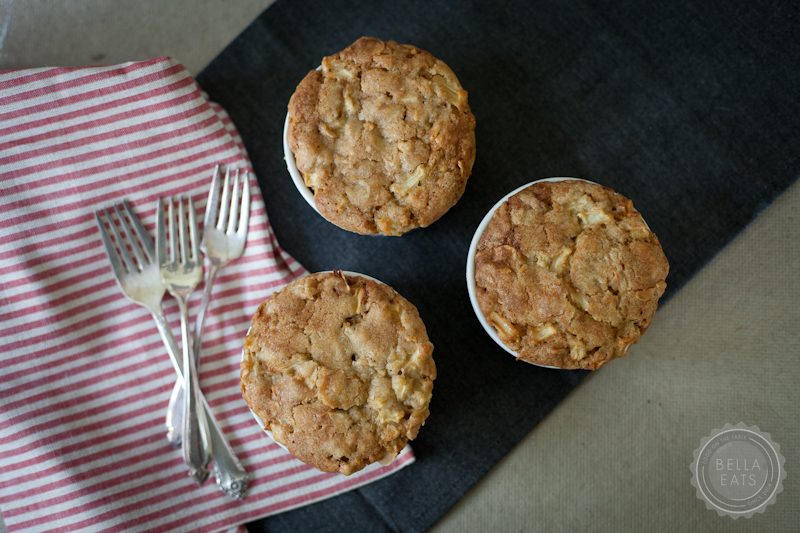
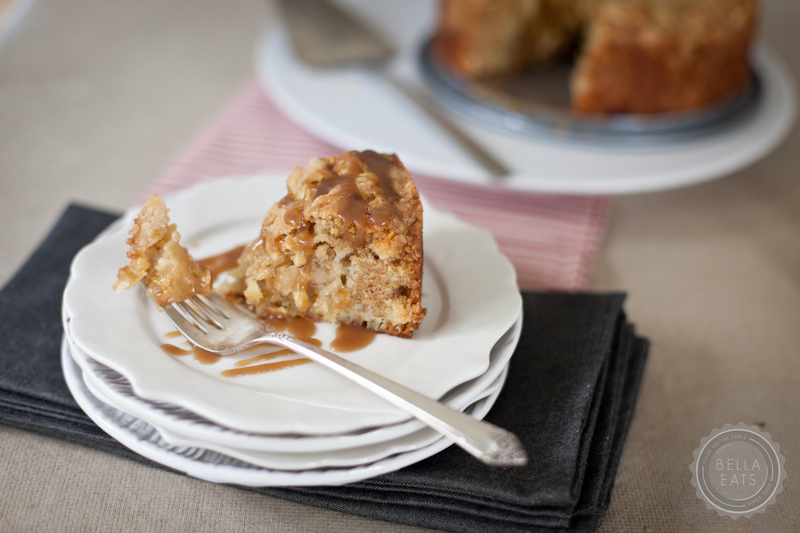
I mentioned last week that I'd be giving a little chat about food photography underneath the Relay Foods tent at the Heritage Harvest Festival last Saturday. Since so many of my readers are not local and would not have had the opportunity to stop by, I thought I'd post a summary of that presentation here on Bella Eats. And, for those of you who just want the recipe for the apple dapple cakes pictured throughout, it's at the end. :)
I get questions quite often about my photography and how I capture the images that I present here. The most important piece of advice that I ever give inquiring minds is this: PRACTICE. If you reach waaayyy back in the Bella Eats archives you'll see that my photography has changed immensely in the nearly 3 years since I've been sharing recipes from my kitchen. In fact, I give this little weblog 100% credit for renewing my passion for photography after architecture stole it away for 10 years. When I began Bella Eats I relied mostly on my little Canon Powershot point-n-shoot camera, and quickly switched over to my DSLR once the focus of the site moved from a daily food diary to a more focused recipe + photography portfolio. With that change, the amount of time I spent capturing images for each recipe increased. With each post my eye strengthened and developed until I'd created a style all my own, certainly influenced by but never outright imitating other food photographers that I admire. The reason that my photography looks and feels as it does today is because I keep picking up my camera, keep following the blogs and magazines and artists that inspire me, keep challenging myself in new ways with each project I tackle. And I promise you, 3 years from now my photography will be different than it is today because of the life I will live during that time. Everything experienced in life is an influence on one's art. So...PRACTICE. It is the ONLY way to become the photographer you wish to be. Everything else is just details.
And now, on to those details. This is by no means a comprehensive guide or the 'right/only' way to photograph food. I mostly hope to give some insight into how I work, and the decisions I make while capturing images for Bella Eats. I don't go into the technical aspects of working your camera, but simply challenge you to look at your photography from another point of view. If you have any specific questions, please feel free to ask them in the comments section!
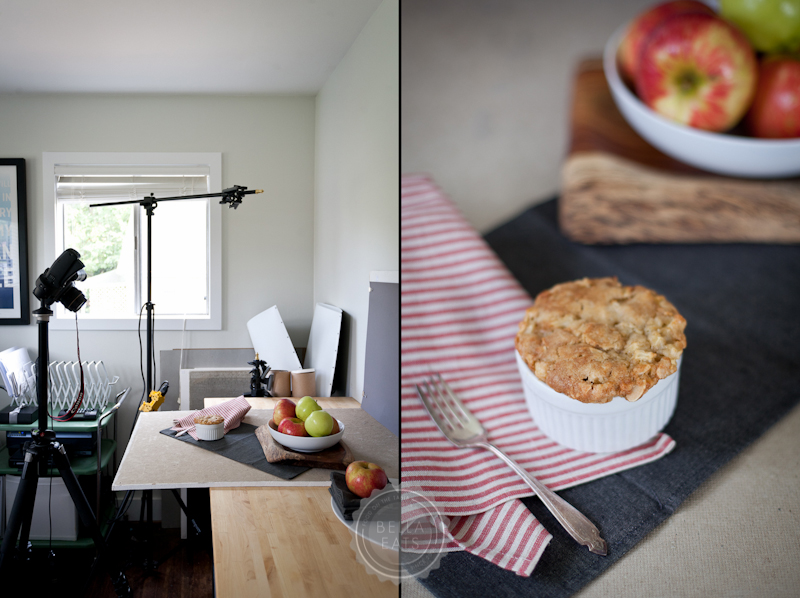
I first want to show you that I don't have a big fancy studio with a beautiful gourmet kitchen directly adjacent to it. Boy, do I wish I did! Someday... Right now Brian and I share a 10'x10' home office space, one side dedicated to our desks and computers and the other dedicated to my work table, some prop storage, and camera equipment. The end of that table is where most of my photography happens, unless I'm feeling like a different sort of lighting or need a bit more space, and then I'll move out to our dining room. (I'll show you the difference in light quality between those spaces a little later.) It is very helpful to have this dedicated space for photos, so that our dining room isn't constantly taken over with my equipment as it was for the first 2 years of writing Bella Eats. If you can manage to clear off a 2'x3' space to keep set up, I highly recommend it.

LIGHT
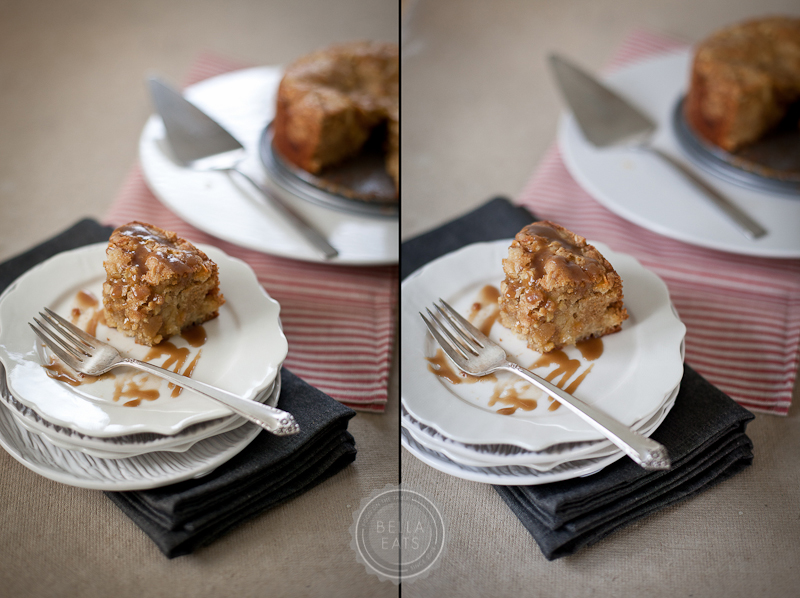
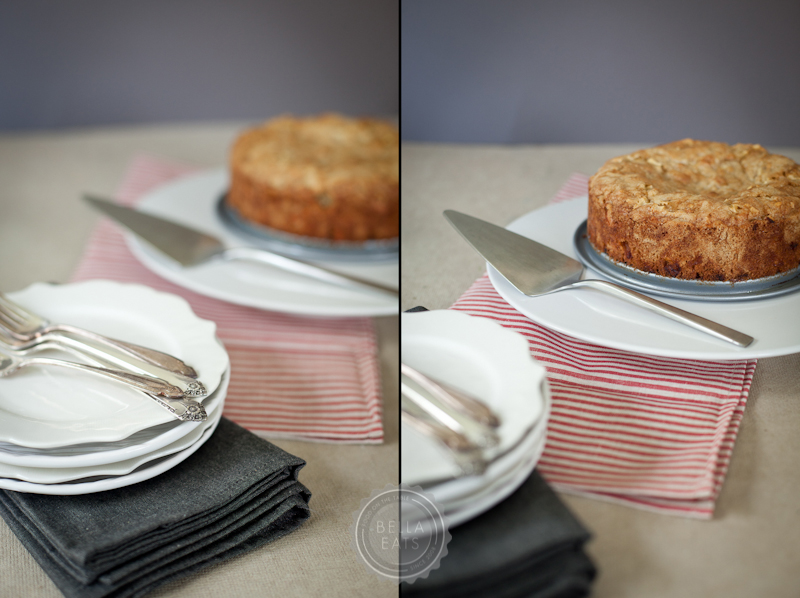
All recipes on Bella Eats are photographed using natural light. I did dabble with artificial lighting momentarily, and occasionally break out my Lowel Egos if I will be shooting on location in a restaurant, but 95% of the time the images captured are lit using indirect or diffused sunlight. So, the first thing that I do when I am planning to photograph a recipe is I think about the quality of light that I am looking for in my images. The pair of shots below demonstrates the difference in lighting in my dining room (left) versus my studio (right). Both images are perfectly fine, but there are subtle differences that I'd like to point out:
1. Temperature. My dining room windows face west and north, and these images were captured in the late afternoon, so the color cast in that space was much warmer than the cast in my office/studio, which faces east and north.
2. Direction of light. In the image on the left, the windows are to the left and in front of the camera, which highlights the cake stand nicely but casts more shadow on the right side of the cut piece. In the image on the right, the windows are to the left and behind the camera, which provides nice, even lighting on the cut piece but leaves the depth of the image more flat. The difference is especially apparent if you look at the folded end of the gray towel.
Again, neither of these images represents the 'right' way to light a subject, just two different perspectives. And there are many, many more options!
CLEAN + STAGE
This is pretty self explanatory. Do as much set-up as you can before you step foot in the kitchen. Analyze the recipe, pick your backdrops, linens, dishes, and extra props. Set up the camera and stage the first shot while thinking about how you plan to capture the others. For something like these mini cakes, this step isn't as big of a deal. But if you have a cast iron pan of fajitas coming off the stovetop and you want to photograph the steam rising from those sizzling veggies, you better have your studio space ready to go!
RECIPE ANALYSIS
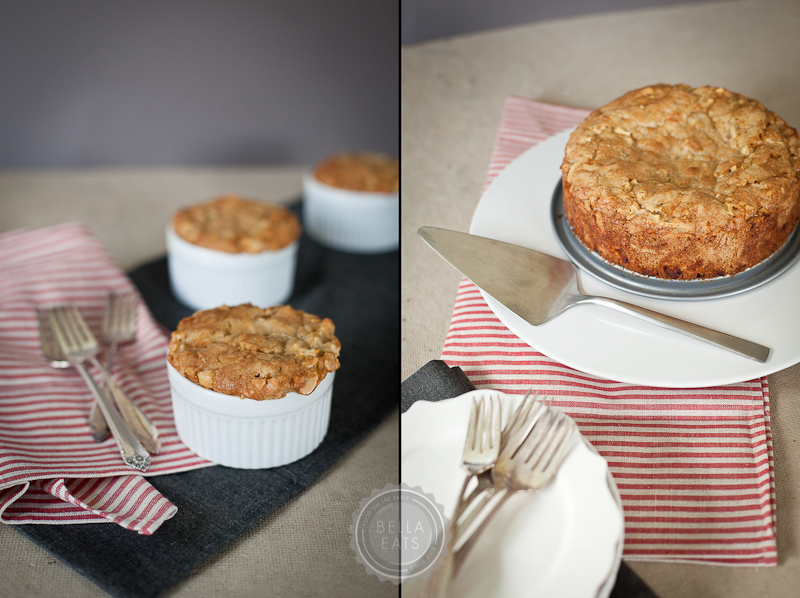
Just because a recipe for cake says that it should be baked in an 8-inch round cake pan, doesn't mean it has to be! Read through the recipe thoroughly and think about how you'd like to present the food. Individual cakes are fun to photograph, but a whole cake provides a slew of cutting/serving options. Will the food be photographed in the dish that it is prepared in? Or can you ignore the cooking dish because the food will be removed and plated? Do you want to capture multiple stages of the cooking process and, if yes, which of those stages should be documented and where?
PROPS
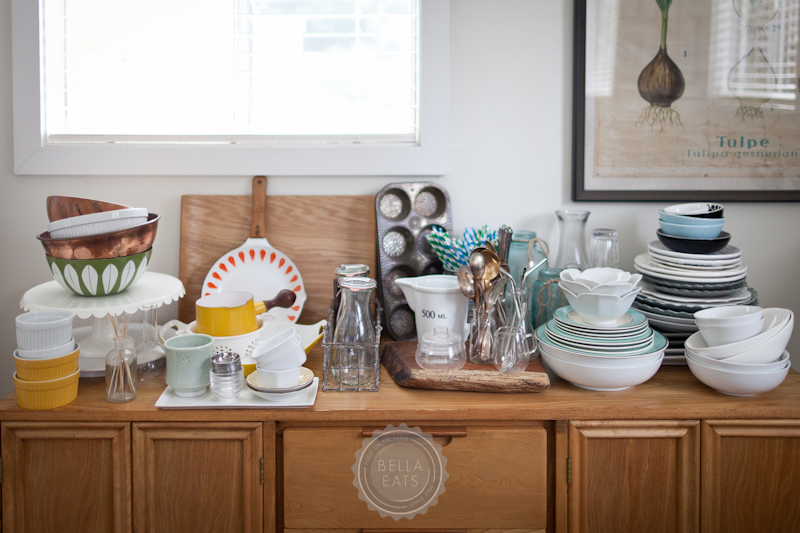
Analyzing the recipe will give clues as to what vessels should be used to present the food. Most often you can't go wrong with a white dish, but sometimes a colorful serving piece can really help to set off the colors in a recipe, such as these strawberry tarts on the teal plates shown below.
BACKDROPS
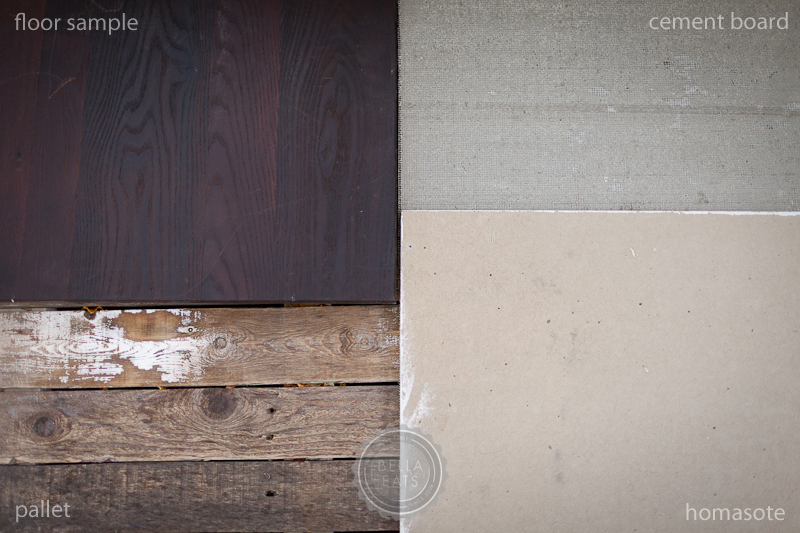
Once I've analyzed the recipe and chosen the dishes I'll use, I pick the backdrop for the photographs. The backdrop has a huge influence on the overall feel of the images, taking it from rustic to refined with a switch from the pallet to the ebony floor sample. As you can see, Lowe's and Home Depot can be a great place to pick up photo backdrops.
TEXTURES + COLOR
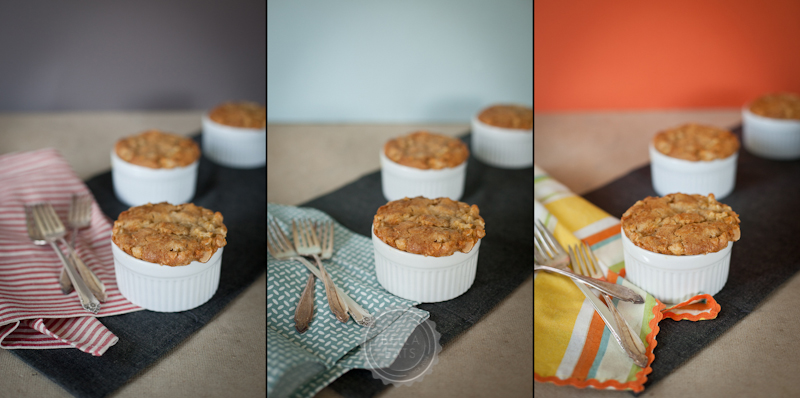
Once I've chosen the dishes and the backdrop, I move on to the styling of the images. Again, colors + textures can have a huge influence on the overall feel of the scene. Below I've shown examples of those little apple cakes styled in three simple ways, from neutral to pastel to festive. This recipe was pretty much a blank slate, given its neutral tone and white ramekin. But, imagine this beet risotto in that orange scene...blech!
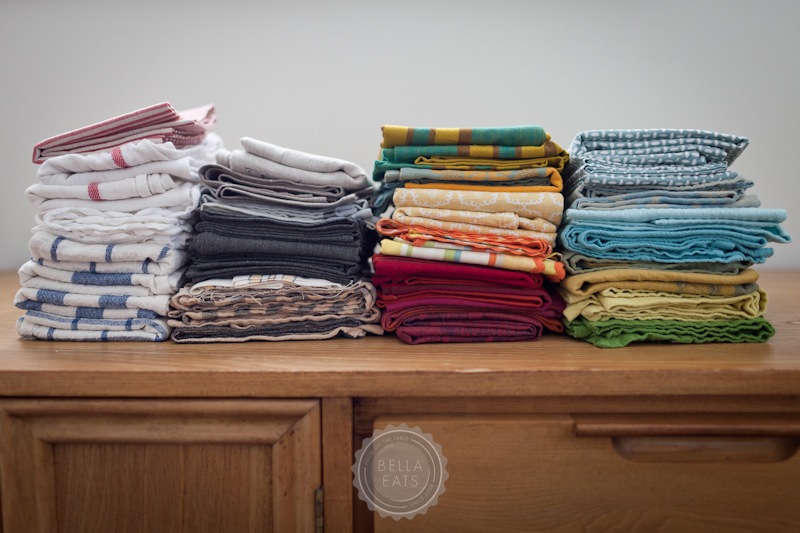
I have a slew of colored and patterned papers and linens that I sort through all the time. The key is to have a good variety so you never get bored. Sometimes, though, I will realize that I've really had a thing for the pallet paired with natural linen and antique silverware (who doesn't?) and have to force myself to think outside of the neutral box, which is typically my preference. Again, challenge yourself! Find a fun linen or paper and work to style your entire scene around it.

VIEWPOINT
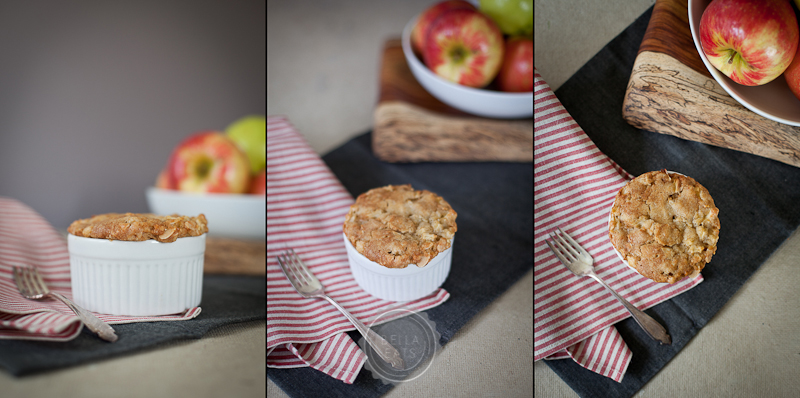
There are three viewpoints typically used in food photography: front, angled, top. I use them all, typically in each post. If you find yourself always shooting from one direction be sure to switch things up and challenge yourself to a new point of view.
DEPTH OF FIELD
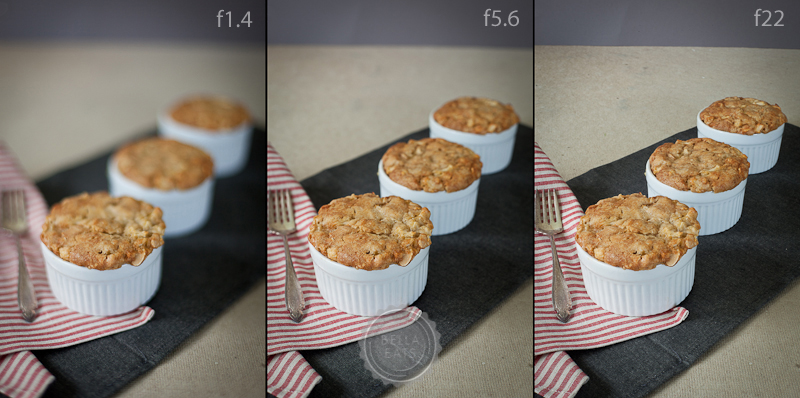
The depth of field in an image refers to the depth of the image that is in focus, and is controlled by the camera's aperture. This is a subtle nudge to explore the settings on your camera beyond 'auto'. Again, none of these is the 'right' aperture to set your camera to, but is simply a demonstration of how the story you tell with your art can be influenced by the depth of field.
FOCAL POINT
Similar to the depth of field, the point of focus in the image can alter the story told. Below I've focused on the first, the middle, and then the last cake. In the image below that I've focused first on the forks and then on the cake. Quite literally, the focal point will draw attention to the point of the image that you wish to be the focus, and it doesn't always fall right in the middle of the frame.

CROP
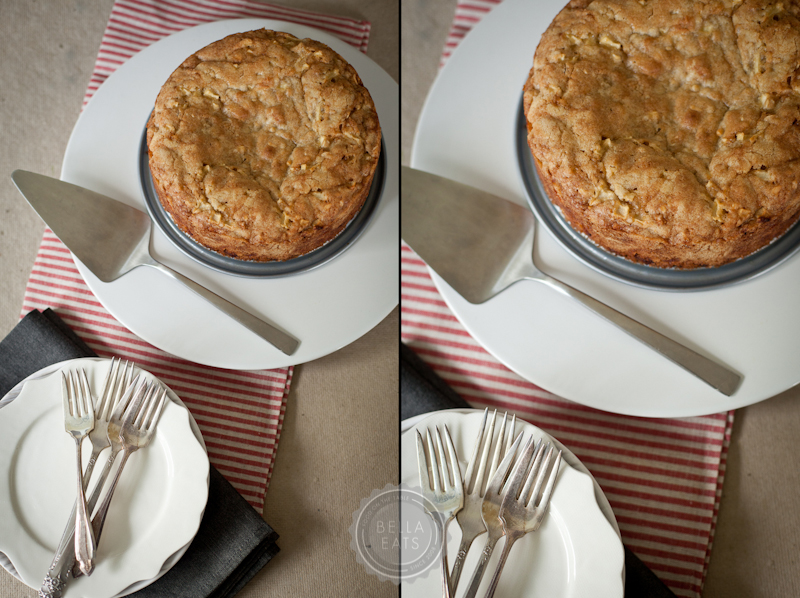
Does the whole dish need to be present in the frame for you to convey its qualities?
CLUTTER
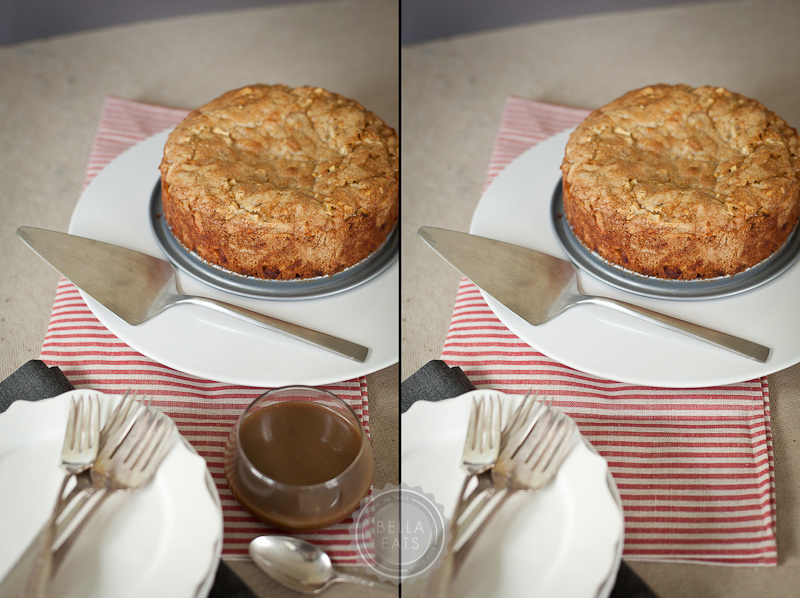
I often find that less is more. In the case of the two images below, I really wanted to show the sauce I made to accompany the cake. However, the image on the left felt a bit too cluttered, and I was much happier with the shot once I removed the little bowl.
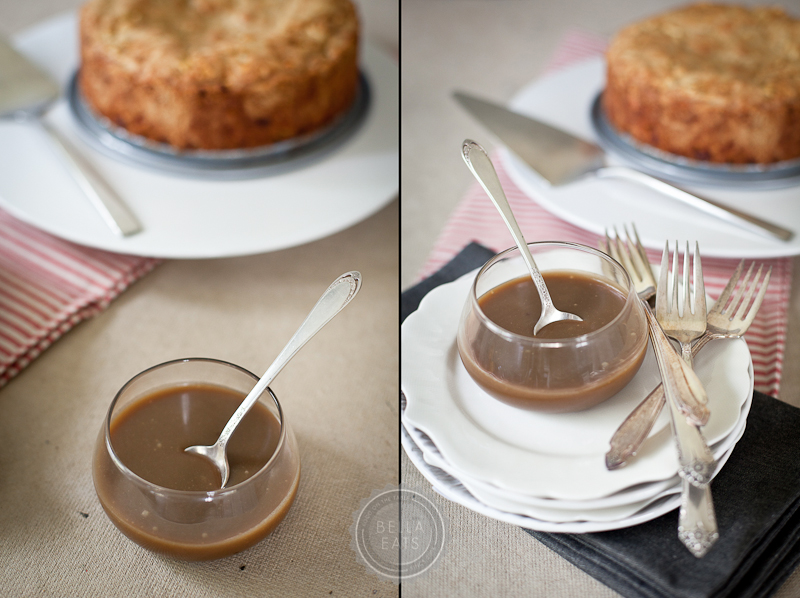
Instead, I found two different ways to set up and style additional images with the sauce as the focus. I would probably pair one of these with the image on the right, above, in a blog post.
SHOW MORE OF THE STORY
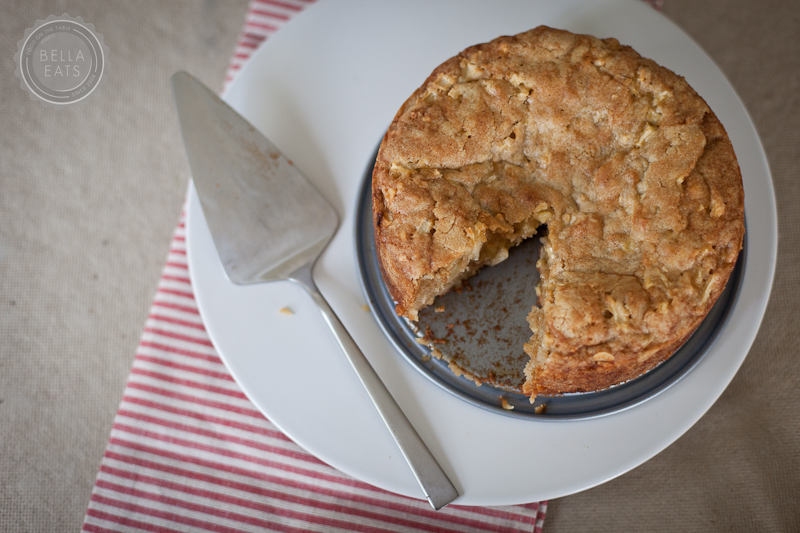
Don't lose sight of the fact that food is meant to be eaten, and showing only the final, pristine cake is not the whole story. Slice it, dish it, eat some of it, and photograph each of those stages. Some of my favorite images show a half-eaten piece of cake or an empty plate, typically found at the end of a post.

POST-PROCESSING
It is my goal to do as little post-processing as possible, always. My love for photography falls in the styling and capturing of images, not in sitting behind my computer tweaking settings until the image looks nothing like what I caught in-camera. I adore Adobe Lightroom 3, and do most of my editing there. It is a powerful editing program and fantastic for organizing my images, of which I take a lot. For an average Bella Eats post I'll take between 60-100 images, and typically whittle them down to 10 that actually go in the post. Lightroom is great for that process. I rarely take images into Photoshop, and when I do it is usually only to remove a stain from a backdrop paper I've used one too many times, or to collage multiple images together (I am still not happy with doing this in Lightroom, for some reason). I even add my watermark as I export images at web-resolution from Lightroom.

The image on the left is straight from the camera, and on the right after a little brightening, a little warming, and a little clarity.....and that's about it.
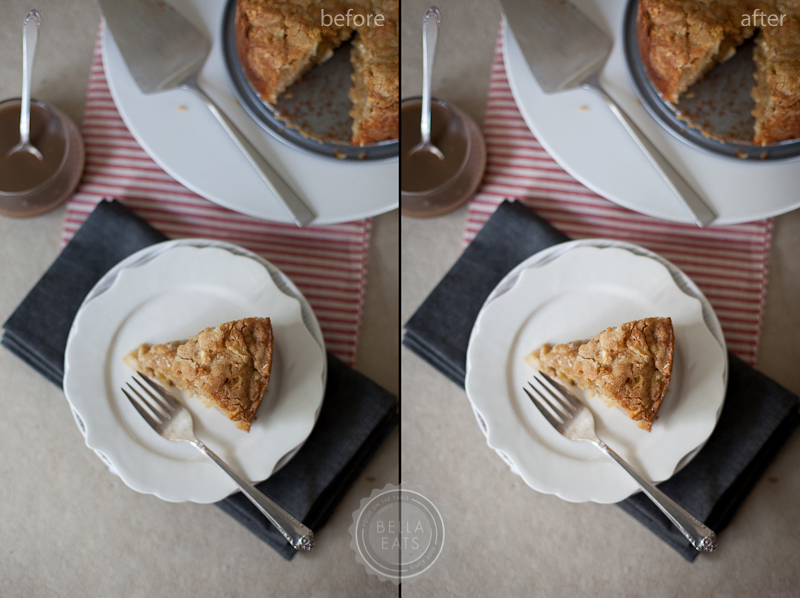
Same for the images below, except I also removed that little paint spot from the homosote, also in Lightroom. I can be picky.

And...that's it! My process for capturing photographs of food. Again, if there are any specific questions, please ask in the comments section below! I'll go ahead and answer one right now, because I know I'll get it:
Q: What camera equipment do you use for food photography?
A: Canon 5D MkII, Canon 50mm f1.4, Canon 100mm f2.8, Canon 35mm f1.4L
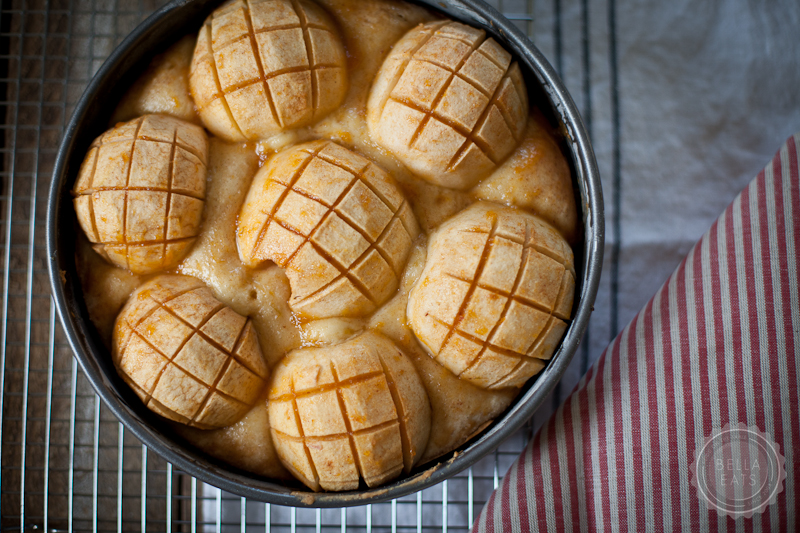
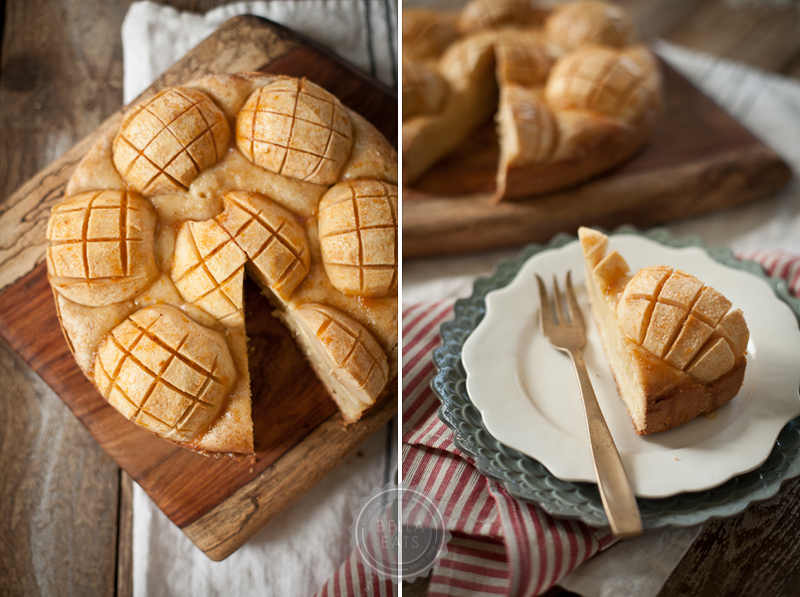
On to cake. Seriously, this recipe is one of our new favorites. I seem to say that a lot, but I really, really mean it with this one. So simple, so delicious, easy to travel with (I lugged the full cake and the mini cakes to the festival for my demonstration last night, and they fared perfectly). It has a consistency similar to coffee cake - soft and spongey and laced with fruit and nuts. Meaning...it is great for breakfast. And you know I LOVE a cake that I can eat for breakfast. :)
Apple-Dapple Cake
from Mollie Cox Bryan's Mrs. Rowe's Little Book of Southern Pies (the original recipe is for pie)
makes (8) 4-inch cakes, or (2) 8-inch cakes
Ingredients
- 3 eggs
- 2 cups sugar
- 1-1/2 cups light vegetable oil
- 1 tsp vanilla extract
- 3 cups all-purpose flour
- 1 tsp baking soda
- 1 tsp ground cinnamon
- 1 tsp salt
- 3 cups diced apples
- 1 cup chopped raw or toasted nuts (I used sliced almonds)
Method
- Preheat oven to 350°F. Butter (8) 4-inch ramekins or (2) 8-inch cake pans.
- Beat the eggs, sugar, oil, and vanilla in a large bowl until thoroughly combined. Add the flour, baking soda, cinnamon, and salt and mix thoroughly. Stir in the apples and nuts until evenly distributed, then spoon the mixture into the prepared baking dishes.
- Bake for 40-50 minutes, until a toothpick inserted in the center comes out almost clean, then transfer cakes to wire racks to cool. (The small cakes took about 40 minutes, the larger the full 50 minutes.)
We enjoyed ours served with this rum caramel sauce.












 As I flew over Charlottesville last Thursday en route to Florida I took note of the fiery colors starting to present themselves in the trees below. The deep orange and bright yellow hues stood out in the dark green forest like fireworks in a midnight sky. Autumnal thoughts quickly left my mind as I jetted towards a weekend to be spent with family and friends in weather that required sundresses and sandals rather than corduroy pants and scarves. Outdoor dining options were declined in favor of cool indoor air conditioning as we all sipped punch made from honeydew, mint and ginger ale. The summertime frame of mind embedded itself so deeply in my subconscious that I boarded the flight home on Sunday in a tank top and flip flops, not thinking about the sub-50-degree air I would be greeted with as I deplaned at CHO.
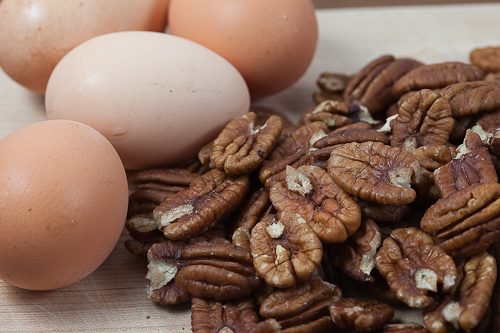 Despite the 85-degree weather and ever-present green of my home state, during my visit last weekend there were a couple of clues that indicated the current season. The stores there all have the same picked-over Halloween costume aisles and sections devoted to Thanksgiving decorations as we have in Virginia. Restaurant menus show some seasonal specials featuring sweet potatoes and cranberries, and the slight drop in nighttime temperature has Floridians pulling out their lightweight fleece hoodies to protect themselves from the “cold”. The light has changed, lower and more golden that it was when I last visited a few months ago. But the indicator that hit home most with me, that brought back a flood of childhood memories of Autumn in Florida, was the giant box of full-size candy bars I noticed stashed close to the front door at my daddy’s house.
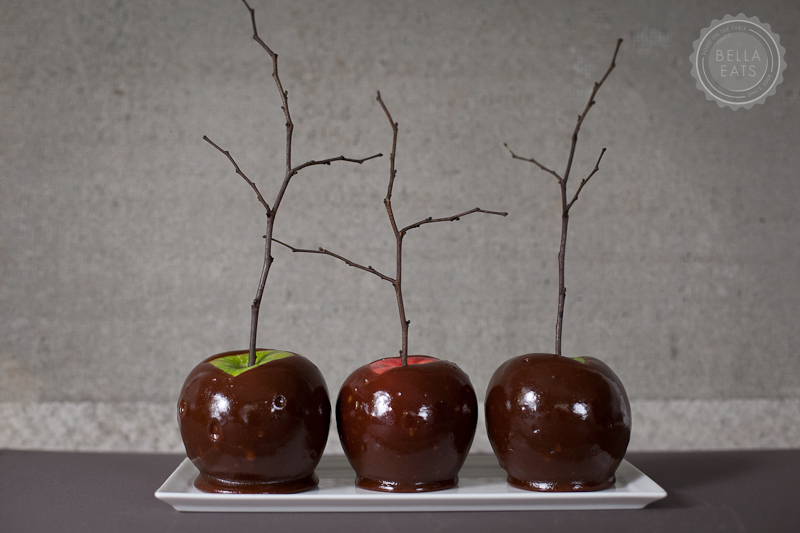
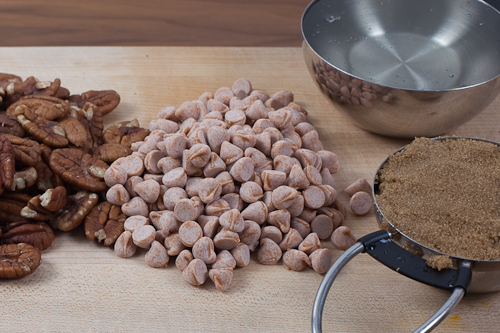 Growing up in Florida, Autumn had a very different feel than it does now that I live in Virginia. In my life now, Autumn means festivals and apple picking, changing leaves and layered clothing. We attend sheepdog trials and buy pumpkins from local farmers, plan parties with locally made hard cider and hand-dipped caramel apples. In Florida, in my youth, I remember the night air turning a little bit cooler and being very, very excited if I spotted a tree changing from green to a pale yellow-brown as I drove past on the interstate. I'd insist on wearing a sweater for Thanksgiving dinner no matter the temperature outside and the fact that I may sweat through it, and longed for a day when I could justify the purchase of a scarf. And then, of course, there was Halloween. For me, Autumn in Florida was all about Halloween.
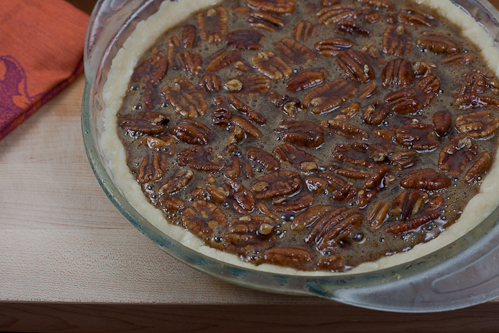 The party planning started in September. Each year my parents and I (well, my parents, really) hosted a huge Halloween bash at our house, complete with haunted cemetery in the yard, costume contest, bobbing for apples or, when my friends and I all had braces, eating donuts hung from the rafters of our back porch with hands tied behind our backs. Evenings and weekends prior to the big day were spent with my father in the garage, drawing tombstone shapes on giant pieces of foam and cutting them out with a hot knife, the smell of melting styrofoam permeating the space for weeks. Daddy is a perfectionist, so the paint job those tombstones and the corresponding cemetery sign that arched high over the gate to our back yard received was perfect. That was one scary cemetery my friends had to walk through to get to the fun and games.
 Come Halloween night, a few days after our party, my father gave, and still gives, full-size candy bars out to trick-or-treaters. Full-size. All of the neighborhood kids know about my dad and the top-notch treats he gives out, which means he buys a lot of candy bars. I enjoyed trick-or-treating as a child, but what I enjoyed even more as a young adult was staying home with Daddy, handing out those candy bars to the costumed youth and hearing the excited tone of their voices as they whispered to each other "see! I told you he gave out the good stuff!" I'd look over at Daddy, who would grin and chuckle and comment on all of their costumes as he dropped bars into their buckets, and smile with pride that I had the cool dad who gave out the good stuff.
 That's my daddy, generous to a fault, always giving out the good stuff. Whether it be full-size candy bars to strangers on Halloween, time on the telephone working through digital camera and photography questions or unbelievably kind gifts, he's always striving to put a smile on the faces of those surrounding him. At this time of year, especially, I am nostalgic for my youth and the time I spent with him each fall, wishing I could fold his tradition of handing out full-size candy bars into my life now and regretting that we live in a neighborhood that trick-or-treaters don't visit. So instead, I made Daddy's favorite kind of pie and thought ahead to Thanksgiving, when we'll sit around the same table with Brian and all of my stepfamily and enjoy an Autumn meal together.
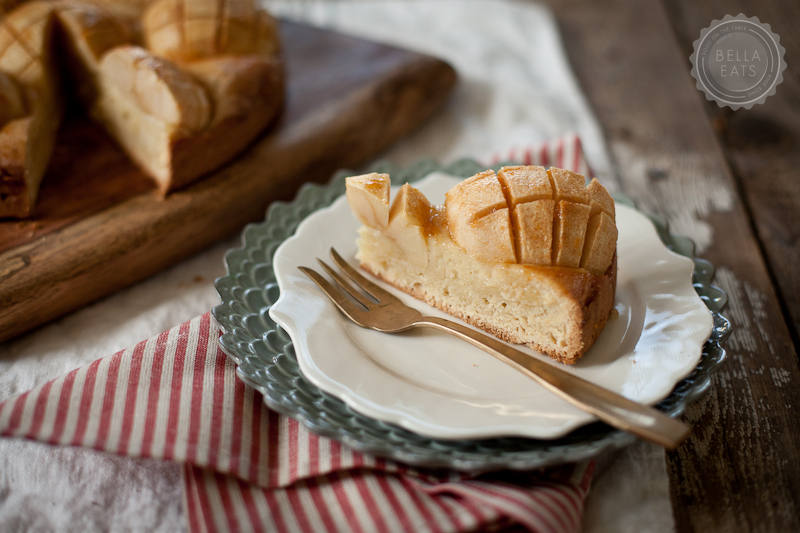
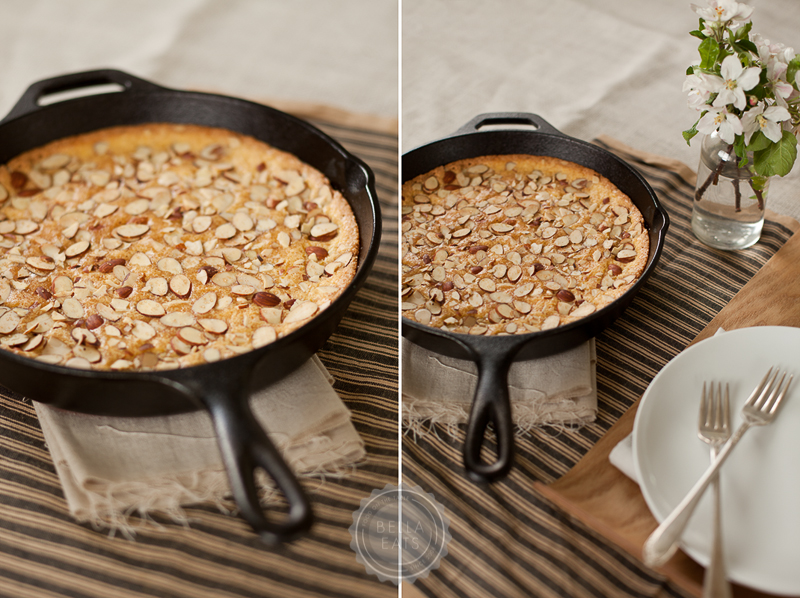
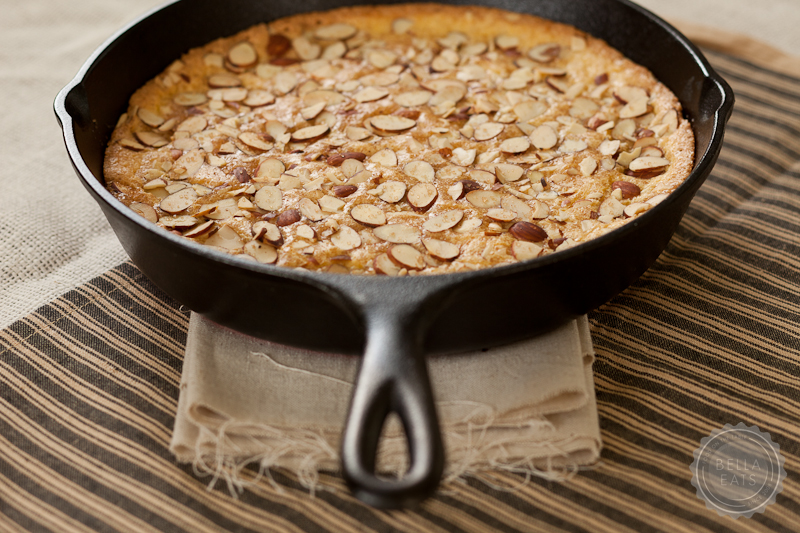
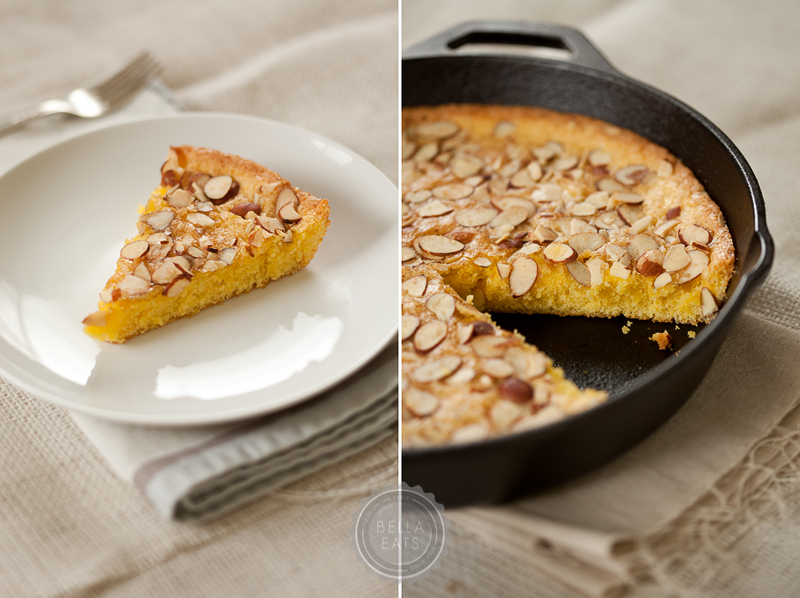
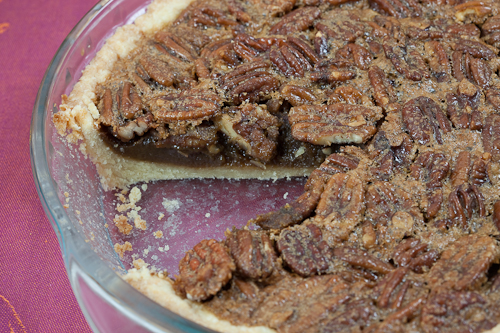 I tried out two different pecan pie recipes this week along with two different crusts. The first is more of an old-fashioned pecan pie, the filling made with dark brown sugar, butter, egg and a splash of bourbon with the pecan halves kept intact. The second pie filling consisted of a little bit of dark brown sugar paired with a lot more corn syrup, butterscotch chips, eggs and chopped pecans. They were both delicious, although there was a definite favorite amongst those surveyed at my office and in our home. I am hesitant to tell you which it was, as both recipes are great and I really recommend that you choose your favorite based on your own tastes.
 Devoid of corn syrup, this pie has the dense texture that I associate with the old-fashioned pecan pie. It is sweet, being mostly sugar, but the bourbon adds a nice mild kick to the bite and a pleasant aftertaste that cuts the sweetness quite successfully.
 With corn syrup used as the main sweetener and the addition of butterscotch chips, this pie is ultra-sweet. The filling is silkier than the pie above, and the chopped pecans make each bite more consistent in texture. I loved the addition of butterscotch in this pie, and know my daddy will too as he is a big fan of those little golden chips.
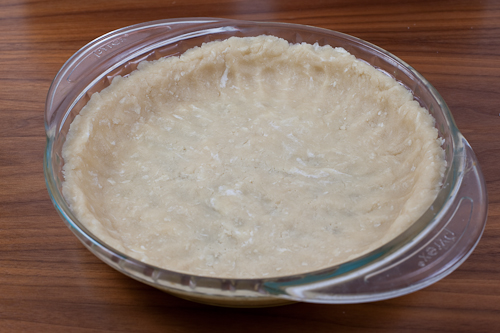
 Joy is right - this pie crust is easy! If you're wanting to make a crust without much notice, or are intimidated by crusts that require rolling, this recipe is for you. The final texture was more crumbly than flakey and reminded me of the consistency of a shortbread cookie. But it held together nicely when sliced and has a pleasant, mild flavor.
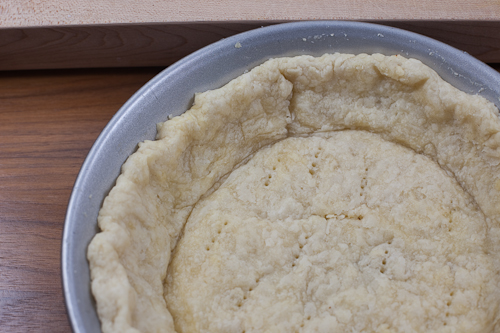
 Ok, so this crust IS pretty perfect. It is an all-shortening crust, which I've never made before, and I was incredibly impressed with the flakey result. The flavor was delicious (although not as good as all butter, in my opinion) and the texture couldn't be beat . One warning, it shrinks with baking, as shortening literally "shortens" the gluten strands in the dough even more so than butter. Before pre-baking, the crust pictured below reached the top of my pie pan. So, be sure not to fill the crust as much as you normally would if you don't pre-bake.
 I've decided to extend Bella Eats Pie Month into November for one more week, so be sure to visit next Thursday for the last installment, Coconut Cream Pie, along with a review of